Let’s Color Plastic Monkeys, Mermaids, Elephants, and Tiny Umbrellas Back to Life!
If you grew up in the ‘60s or ‘70s, you might remember the real stars of any fancy drink — those tiny plastic charms clinging to the rim. Maybe it was a monkey swinging from your Shirley Temple, or a pink elephant floating above the fizz. As a kid, I didn’t care what was in the glass… I just wanted that charm! I’d collect them like treasure, each one a glittery souvenir from a grown-up world of Tiki bars, velvet lounges, and pineapple slices on toothpicks.
These quirky drink companions were basically the Happy Meal toys before Happy Meals — and I’ve brought them back to life (minus the sticky fingers) with a set of vintage-inspired coloring pages! You’ll find all the classics: the monkey, elephant, mermaid, and camel — plus the tiny plastic sword that once skewered cherries and orange wedges. And of course, no retro cocktail is complete without a paper umbrella or two.
Two of the pages even invite you to play mixologist — add your own garnishes, umbrellas, and fruity flair. Go wild with the colors and create something Trader Vic himself would envy!
✨ Click the link for your free download and let’s toast to a splash of nostalgia, one crayon at a time. 🍹
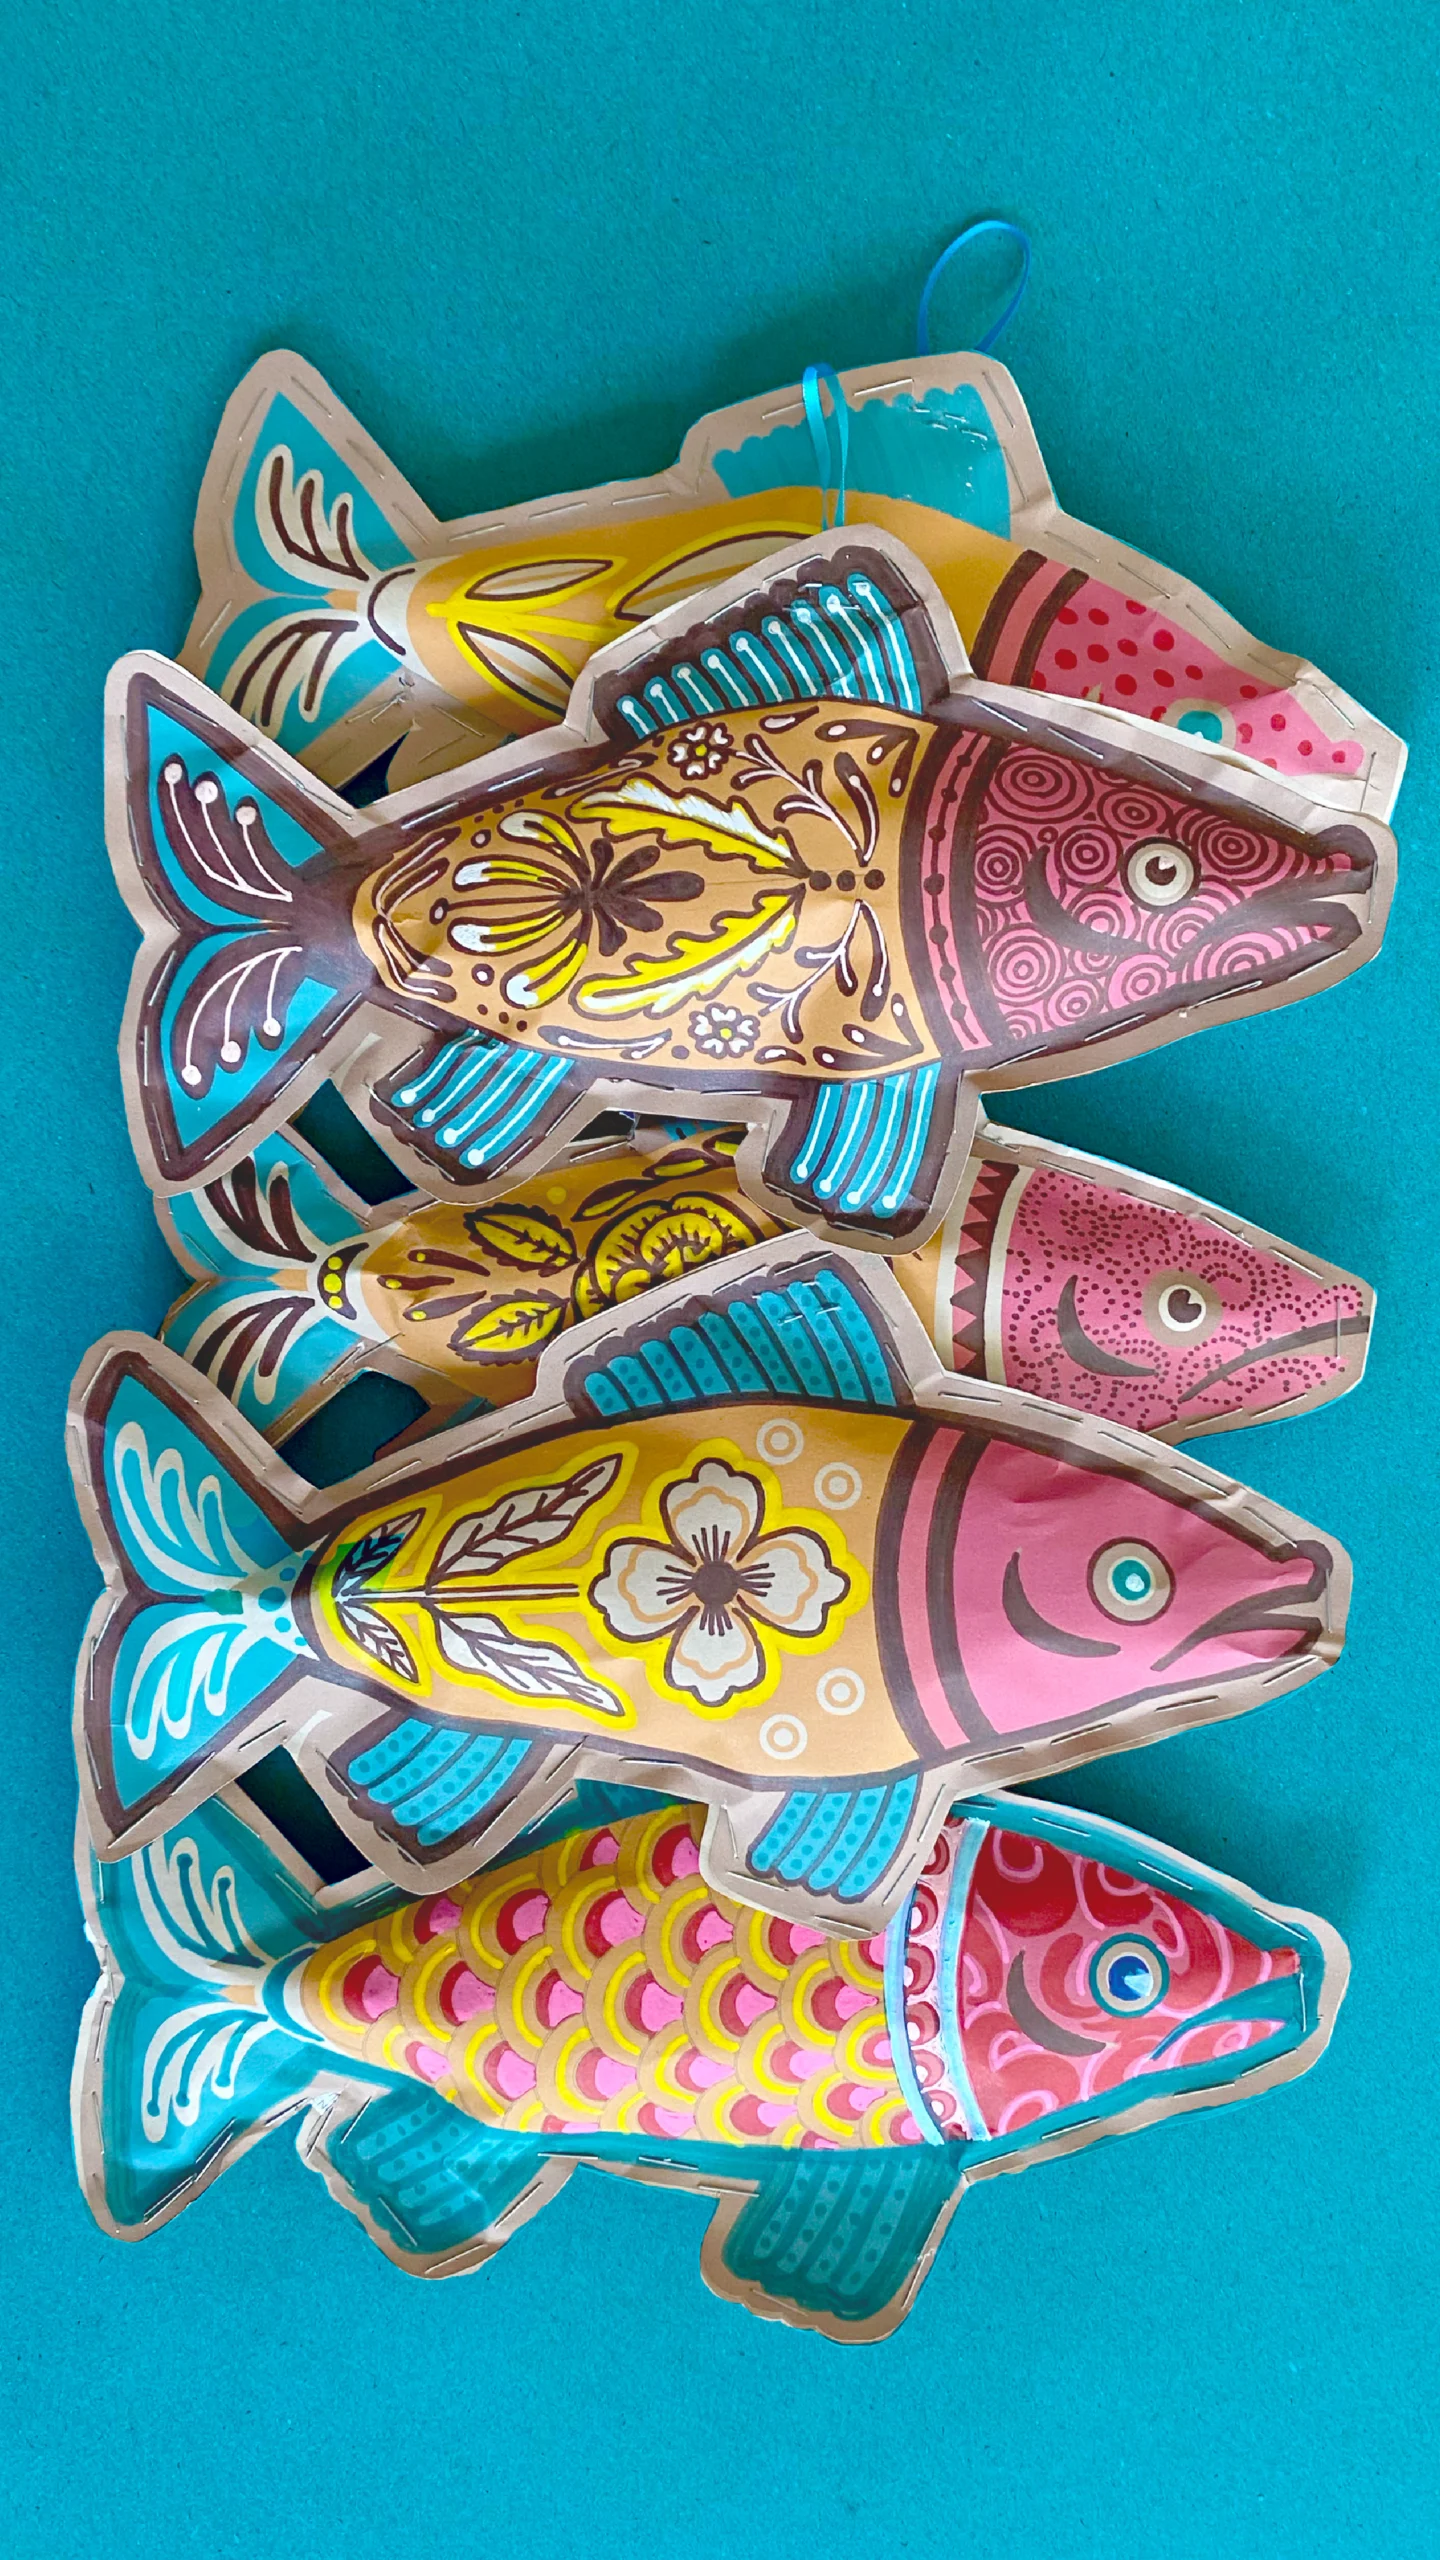
Shredded docs → sassy fish. 🐟 Reel In the Craft of the Day!
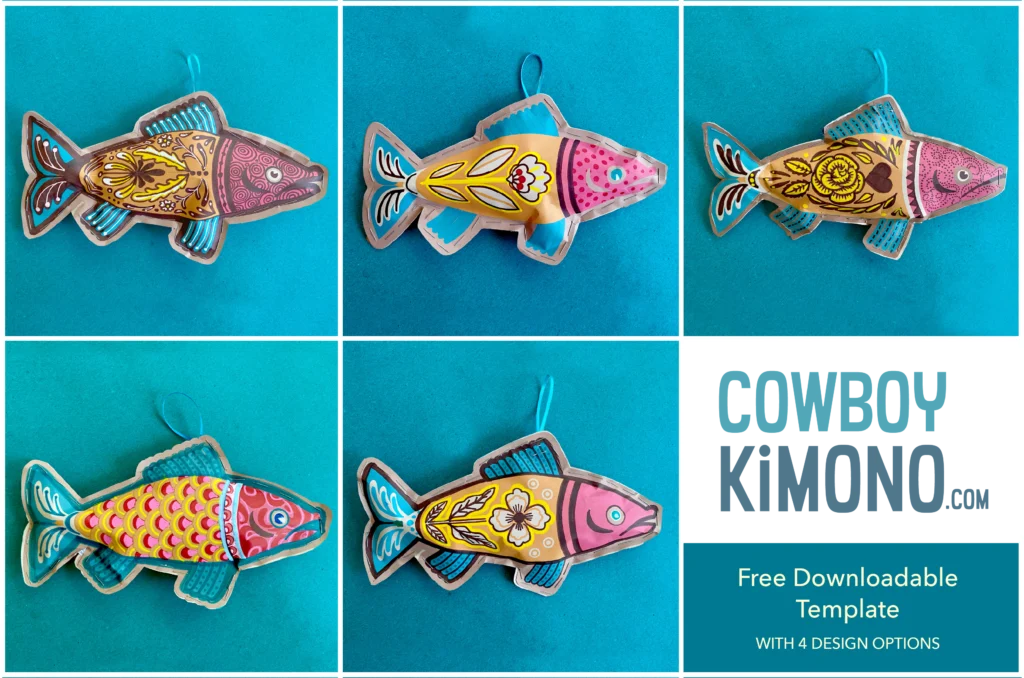
If your living room tree is more “ever-delightful” than “evergreen,” these Kraft Paper Fish Ornaments are a playful way to keep it dressed up between holidays. They’re eco-friendly, easy to make, and give you an excuse to break out the crayons, paints, and markers like a kid again. Bonus? This recycled craft adds some serious charm to your earthy, year-round tree.
Download & Print Grab the fish template and print it on letter-size Kraft paper.
Double It Up Place a blank sheet of Kraft paper behind each printed design. Hold both sheets together and cut out your fish shape. (Keep each cut-out pair together!)
Decorate Color, paint, or doodle your heart out on one side of each fish.
Staple & Stuff Lay the decorated fish on top of its blank twin. Staple halfway around the edge so it looks like cute little stitches. Leave an opening, then stuff it with shredded paper. Tuck in any strays.
Add the Hanger Cut 5-inch ribbons, knot them into loops, and staple one to the back of each fish at the top fin.
Close It Up Finish stapling around the fish to seal it in. Done!
Pro Tip: Try this same method with my other templates—birds, bugs, shells, starfish, or milagros. Mix them together for a whimsical, garden-of-delights tree that feels alive all year long.
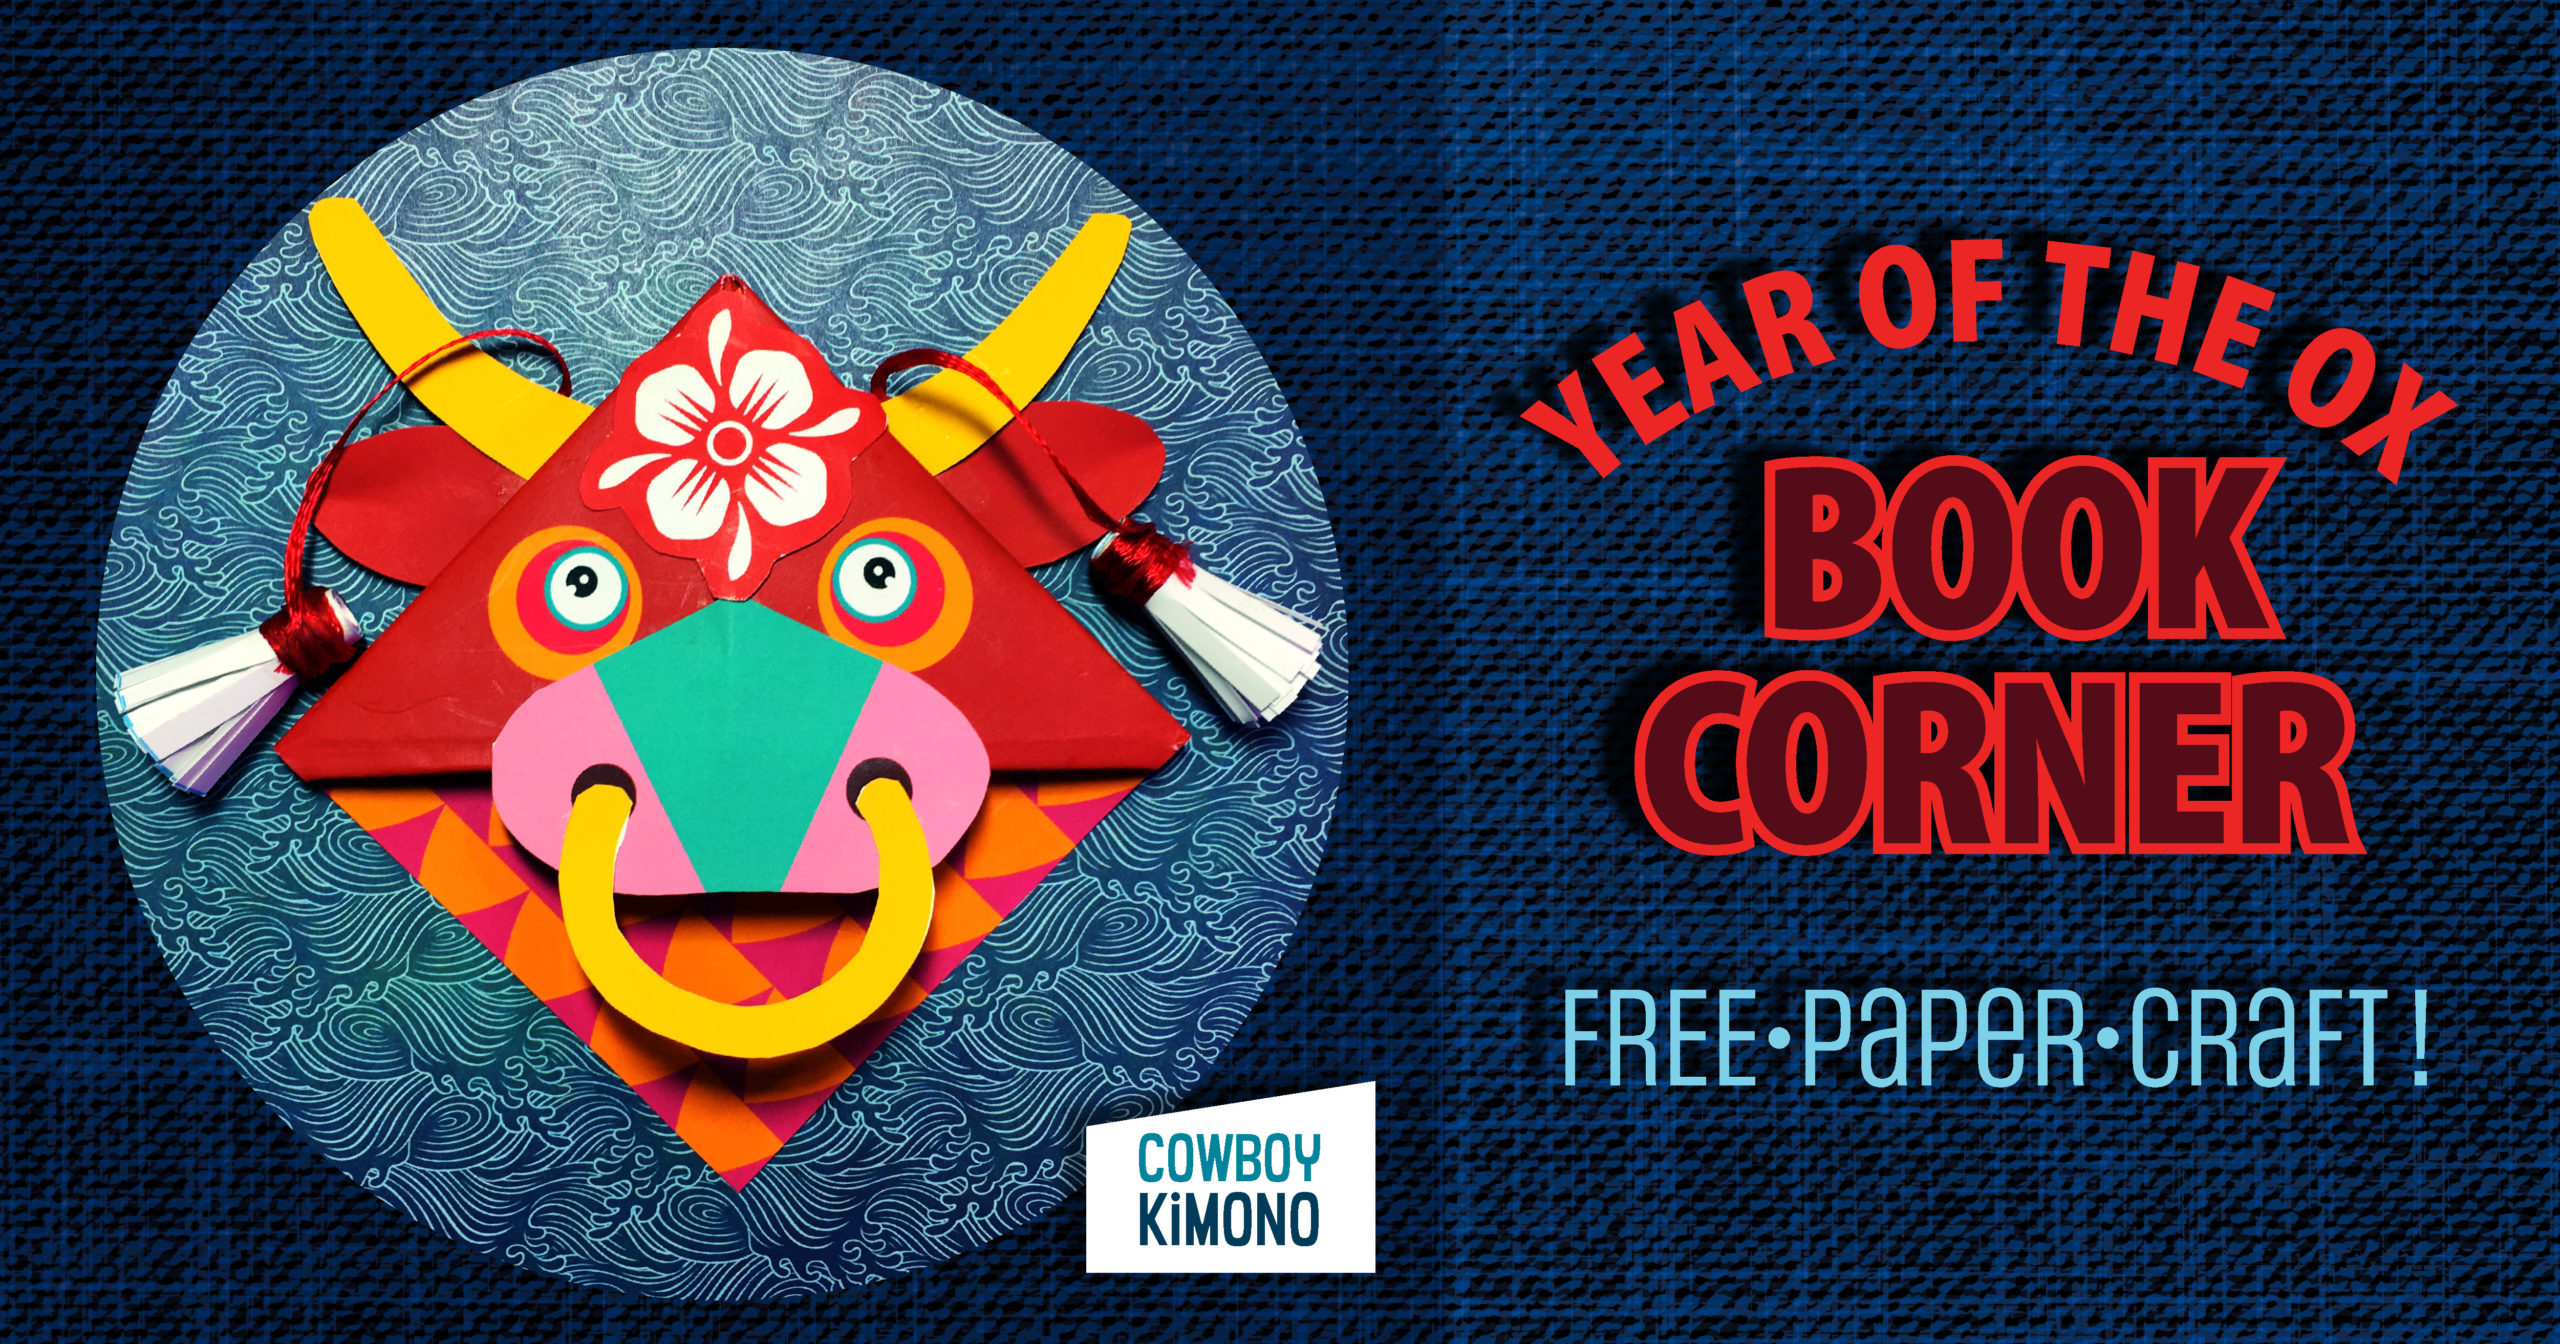
An irresistible paper craft originally created to celebrate the Year of the Ox, 2021. Simple instructions follow – but first a brief history of the Lunar New Year from Pinterest:
Celebration of Luck, Health, and Togetherness
“Marking the first new moon of calendars traditional to many East Asian countries, Lunar New Year is a multi-day celebration of luck, health and togetherness celebrated by billions of people around the world. February 12 marks this year’s festivities, beckoning in the Year of the Ox according to the Chinese zodiac. And while this year’s celebrations may be at home this year, the rich traditions of this holiday aren’t going anywhere.“
How Lunar New Year Came To Be
“The legends behind the Lunar New Year date back thousands of years. The tale goes that at the beginning of each new year, there was a monster that attacked a village. The monster was afraid of loud noise, bright lights and the color red, so the villagers banded together to scare it off by hosting loud celebrations and wearing red. Each year is represented by a different animal, the 12 signs of the Chinese zodiac, with this year represented by the ox, which symbolizes patience and cheerfulness. The Chinese zodiac has been adopted by many countries throughout Asia. Lunar New Year is celebrated in a variety of ways across different Asian cultures. For example, in China, the celebration is often called the Spring Festival, in Tibet it’s known as Losar, and in Vietnam, it’s called Tết. It’s widely celebrated amongst the Asian diaspora all over the world, making it a truly global holiday.” https://www.pinterest.com/today/article/how-to-celebrate-lunar-new-year-2021/64041/
Print template’s front square, flip paper and print back on same page.
Cut out red square from the printed page.
Fold origami bookmark using photo guide or YouTube video link
Cut out nose, ears, head flower, nose ring, horns and tassel strips.
Clip tassel strips as shown in photo (below).
Glue nose beneath eyes, making sure not to glue the pocket opening. Glue the nose ring to the nostrils.
Gently pinch each ear on the tip and glue to the back side of the head.
Glue the horns slightly above the ears.
Glue the head flower over the printed flower.
Make the tassels by putting a dot of glue on the left and right, unclipped edge of each strip. Place the tip of a 3-inch piece of yarn or thin ribbon in the glue with the remaining length going up and away from the unclipped edge. Repeat for the second strip. Tightly roll each strip lengthwise. Pinch for a few seconds to allow the glue to take hold. Put a dot of glue on the top, unclipped part of the tassel and wrap with a 2-inch piece of yarn or thin ribbon. Glue the end and repeat for the second tassel. Tie the tassels together at the top and glue the knot to the back side, center of the head.
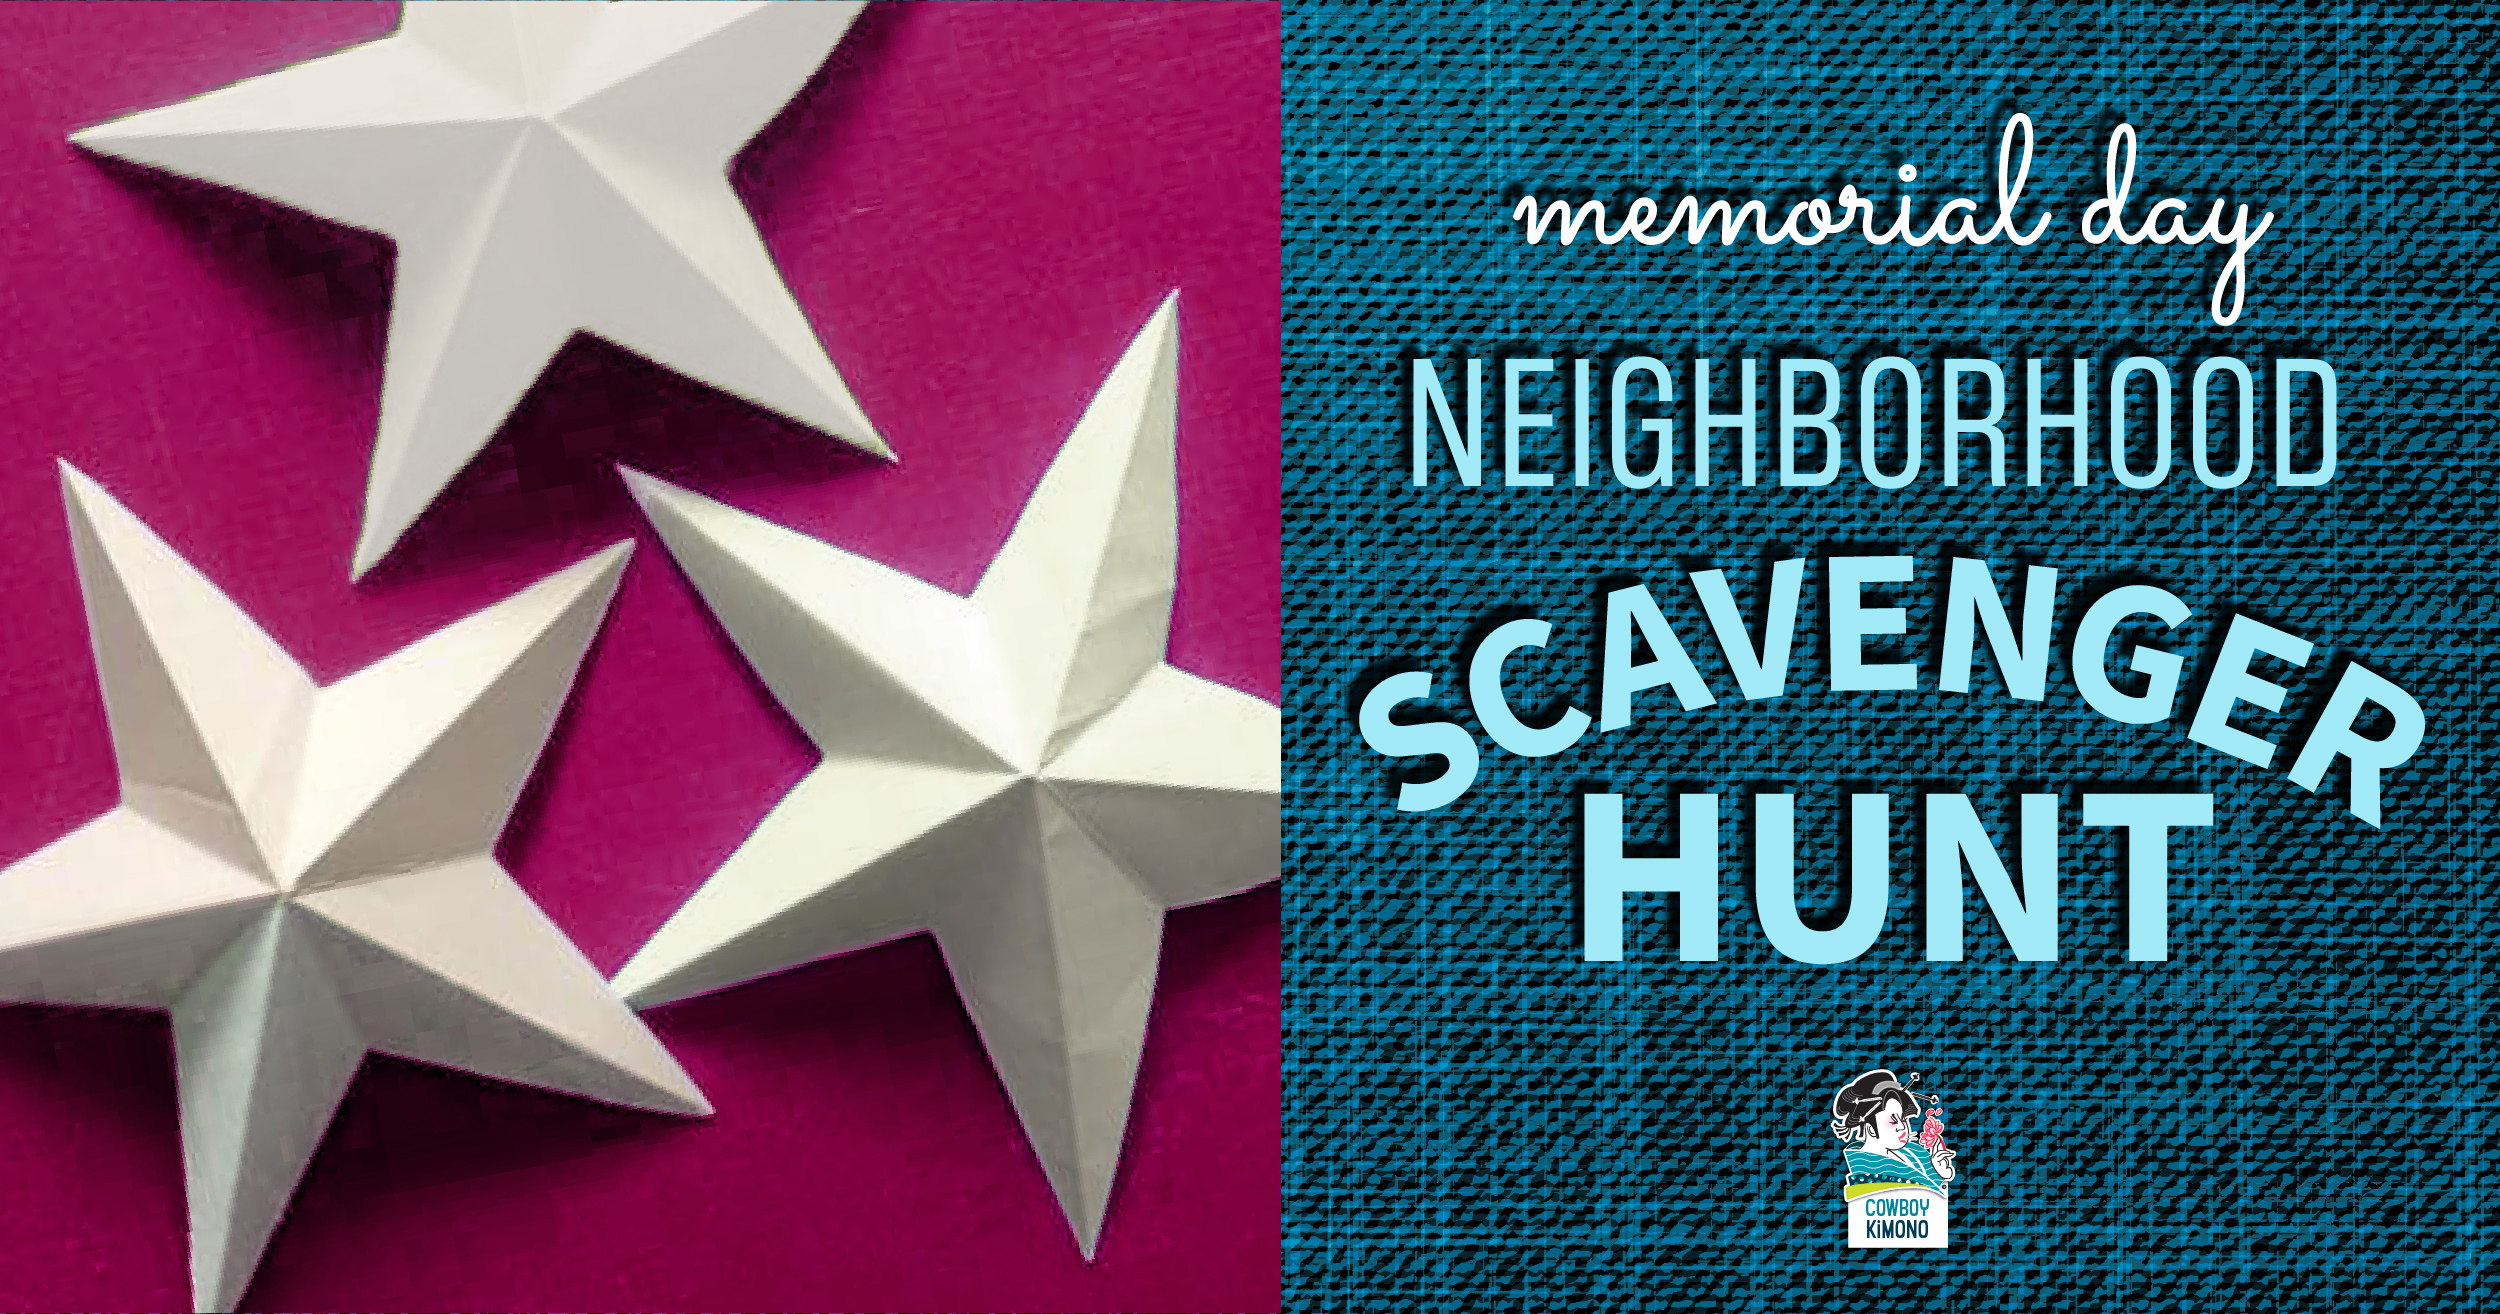
Social distancing keeping you close to home this Memorial Day? Taking daily walks to to stay fit (and sane)? Celebrate Memorial Day during Covid-19 with a game that combines walking with a scavenger hunt. Locate patriotic symbols in your neighborhood and, at the same time, honor the men and women who died while serving in the U.S. military. Simply view the checklist below on your phone and play! Play it solo or as a competition between friends, family members, or neighbors.
Did you know? Each year on Memorial Day a national moment of remembrance takes place at 3:00 p.m. local time.
Celebrate Mom on her day by crafting, loud and proud Milagro charms that screams to the world, “This is MY Mom and I LOVE HER! ” This simple craft can be made by small or big hands. Milagros strung on ribbon magically transform into a stunning necklace that any Mom would wear with pride.
What are Milagros?
Alternatives Global Market Place: “Milagros, meaning “miracle” in Spanish, are religious folk charms found in many areas of Latin America and Southern United States. They are used by people to petition for help or protection. These small metal charms are attached to altars, shrines or sacred objects. Milagro Charms can also be carried for protection and good luck. They are made in a variety of shapes, representing body parts, animals and many other objects. They are used to assist in focusing attention towards a specific ailment or need, based on the type of charm used. A milagro’s symbolism is not uniform and can take on individual meanings. ” Milagro Symbolism
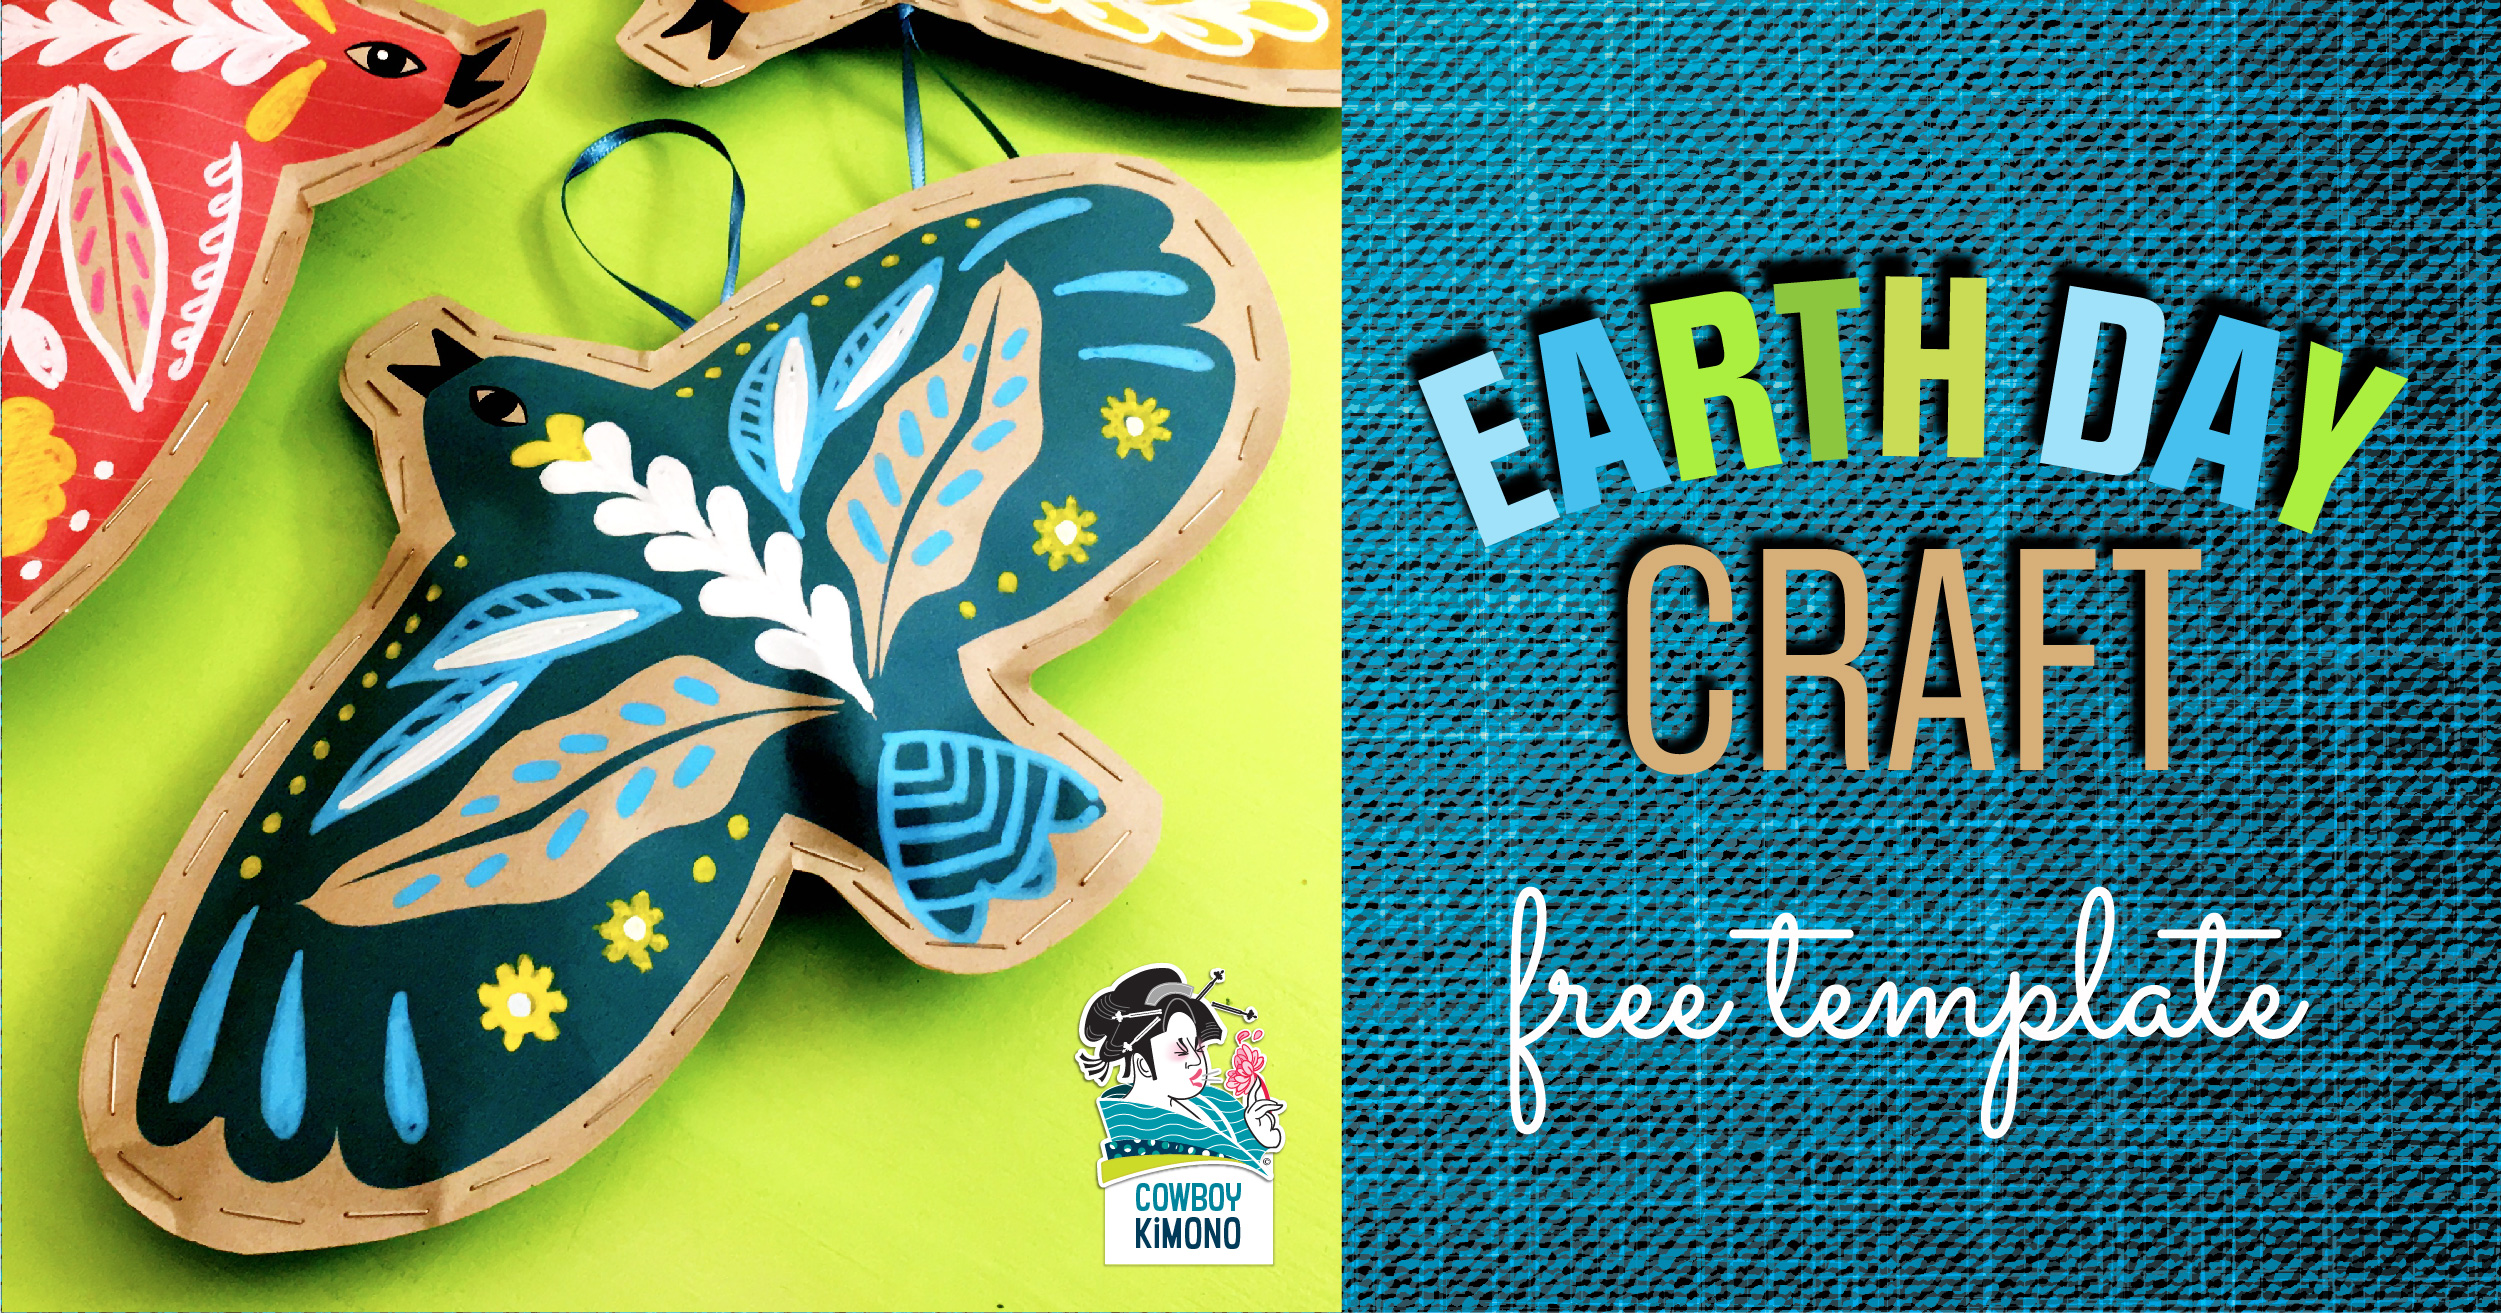
A Two-for-One Craft: Celebrate Earth Day by painting paper pollinators and honor the earth by upcycling waste found around the house. This simple craft can be made and ready to hang before Mother Earth finishes her rotation.
Turn bags inside-out so non-printed sides are showing.
Layer a template on top of the bag. Bag should be folded so there are two layers.
Hold the bird template in place (or lightly tape) and cut leaving a 1/2 inch margin around the outer edge of the bird. Repeat for each ornament. Keep bird shapes that were cut together, paired together.
Decorate one side of each pair with crayons, paint, markers, or paint pens.
Lay the decorated piece on top of the undecorated piece and staple half way around the edge of the bird. (It will look like metal stitches) Do not staple all the way around.
Stuff the bird with paper from your shredder. Tuck away any wayward pieces.
Place a rubber band, knotted piece of string/yarn/ribbon near the neck on the interior. Let the loop side hang out of the bird to use as a hanger. Staple in place.


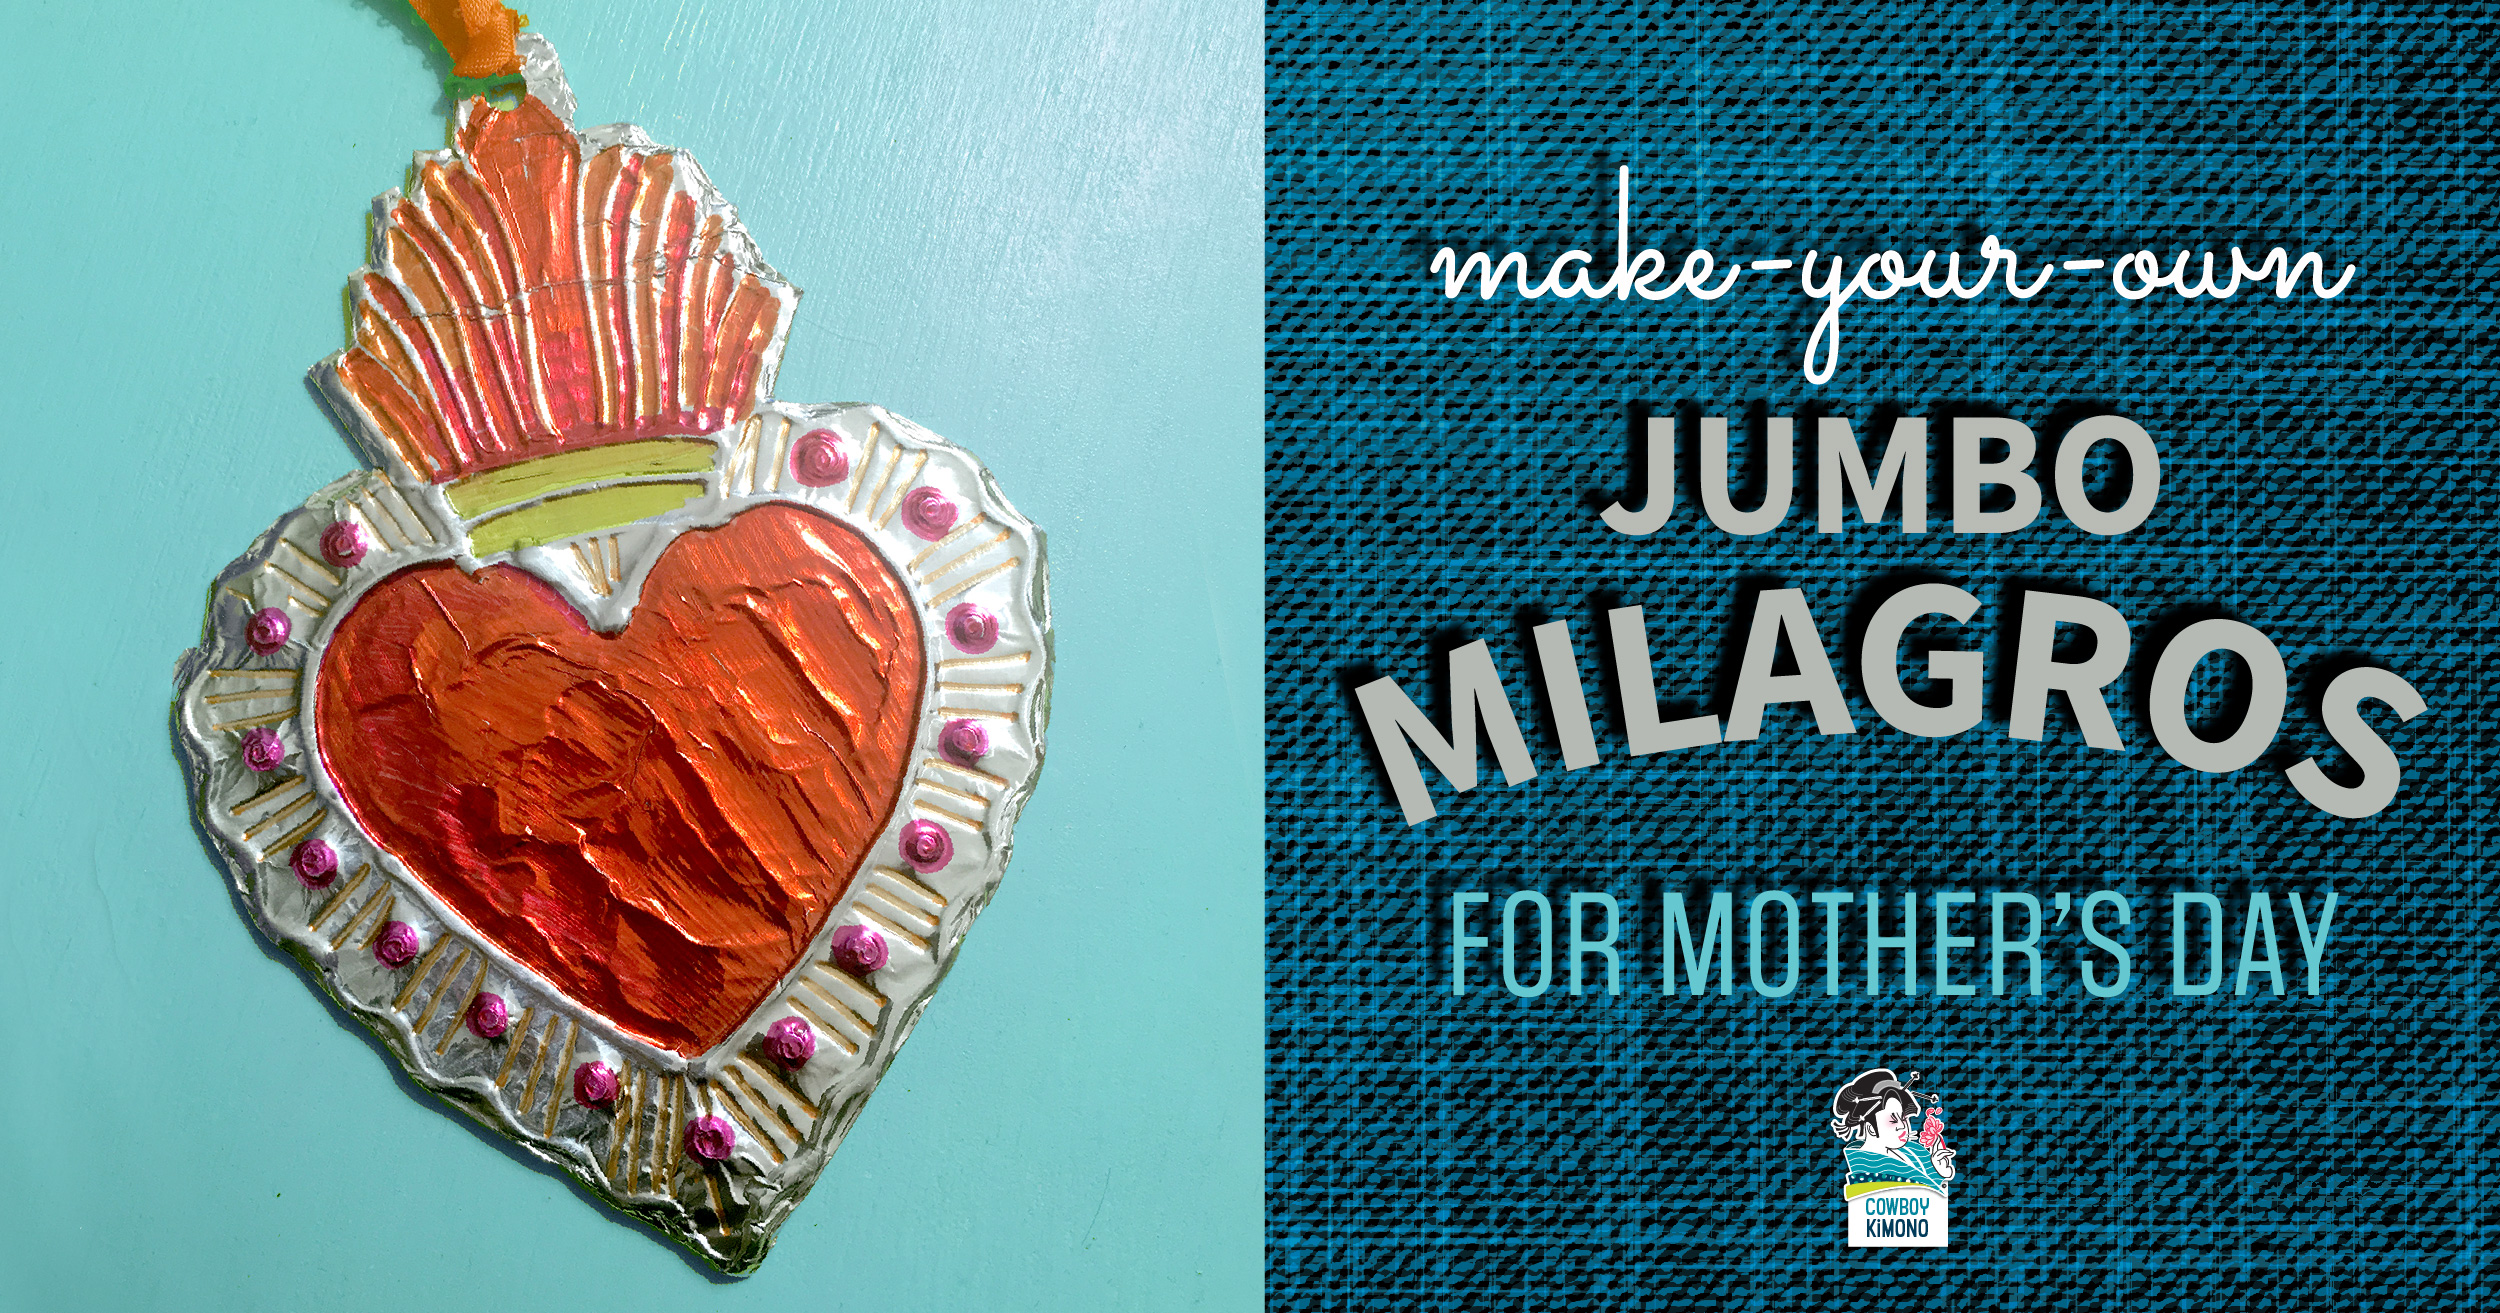


 Jumbo Milagros