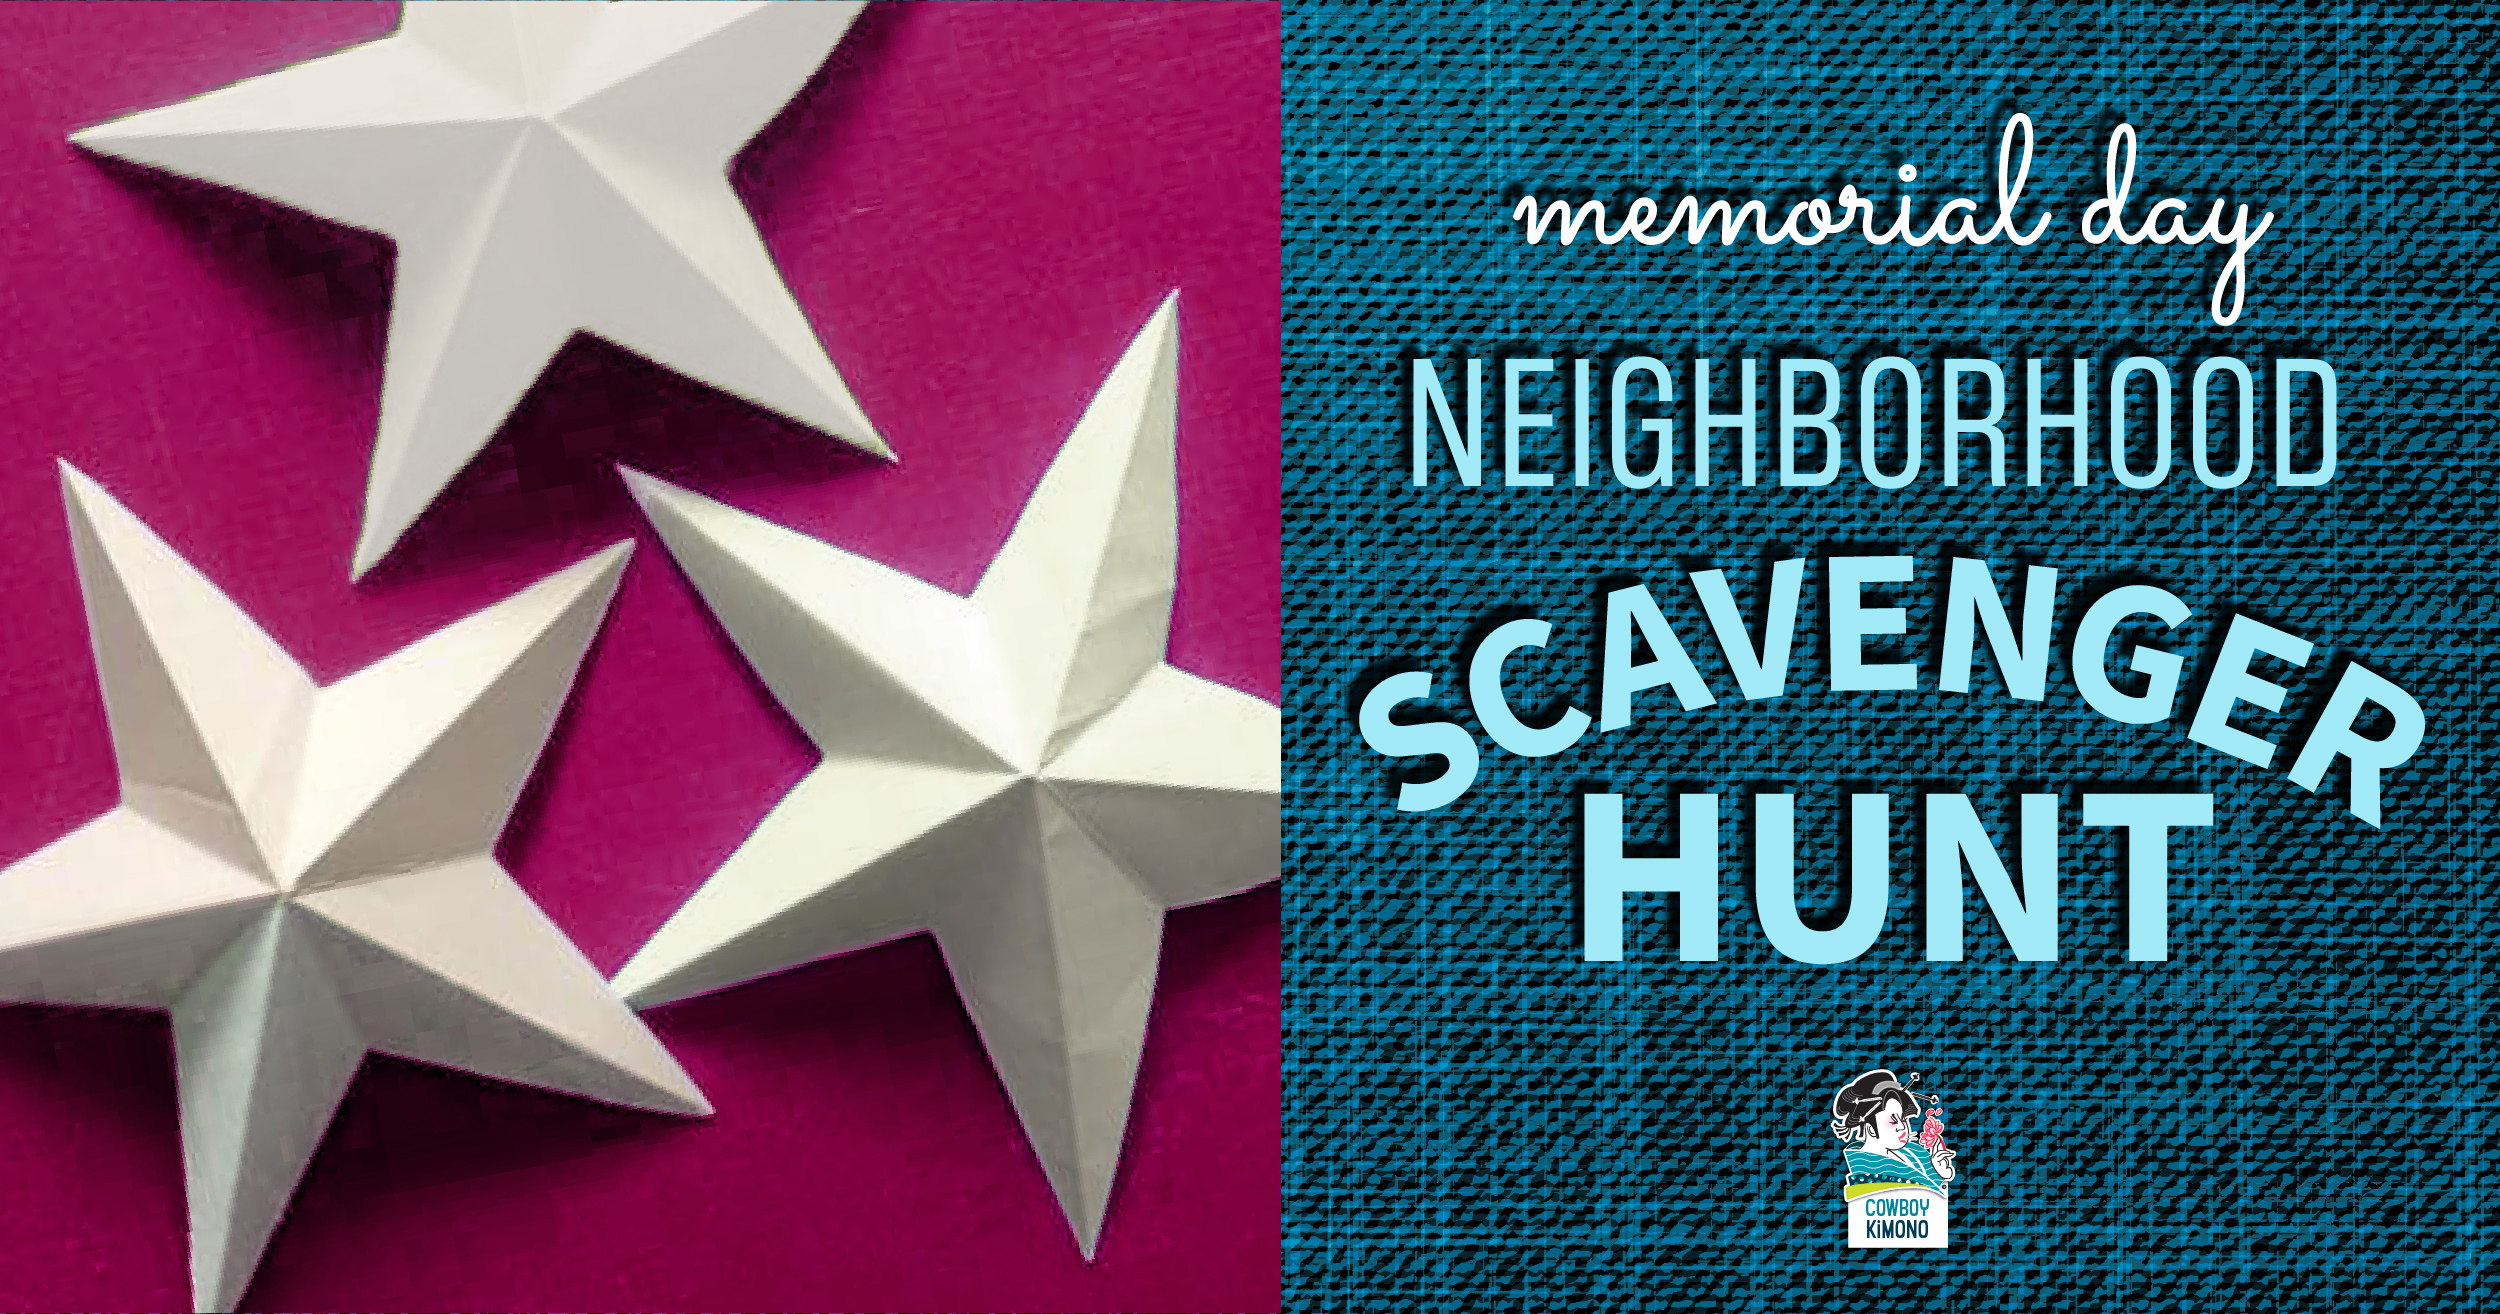
Social distancing keeping you close to home this Memorial Day? Taking daily walks to to stay fit (and sane)? Celebrate Memorial Day during Covid-19 with a game that combines walking with a scavenger hunt. Locate patriotic symbols in your neighborhood and, at the same time, honor the men and women who died while serving in the U.S. military. Simply view the checklist below on your phone and play! Play it solo or as a competition between friends, family members, or neighbors.
Did you know? Each year on Memorial Day a national moment of remembrance takes place at 3:00 p.m. local time.
Celebrate Mom on her day by crafting, loud and proud Milagro charms that screams to the world, “This is MY Mom and I LOVE HER! ” This simple craft can be made by small or big hands. Milagros strung on ribbon magically transform into a stunning necklace that any Mom would wear with pride.
What are Milagros?
Alternatives Global Market Place: “Milagros, meaning “miracle” in Spanish, are religious folk charms found in many areas of Latin America and Southern United States. They are used by people to petition for help or protection. These small metal charms are attached to altars, shrines or sacred objects. Milagro Charms can also be carried for protection and good luck. They are made in a variety of shapes, representing body parts, animals and many other objects. They are used to assist in focusing attention towards a specific ailment or need, based on the type of charm used. A milagro’s symbolism is not uniform and can take on individual meanings. ” Milagro Symbolism
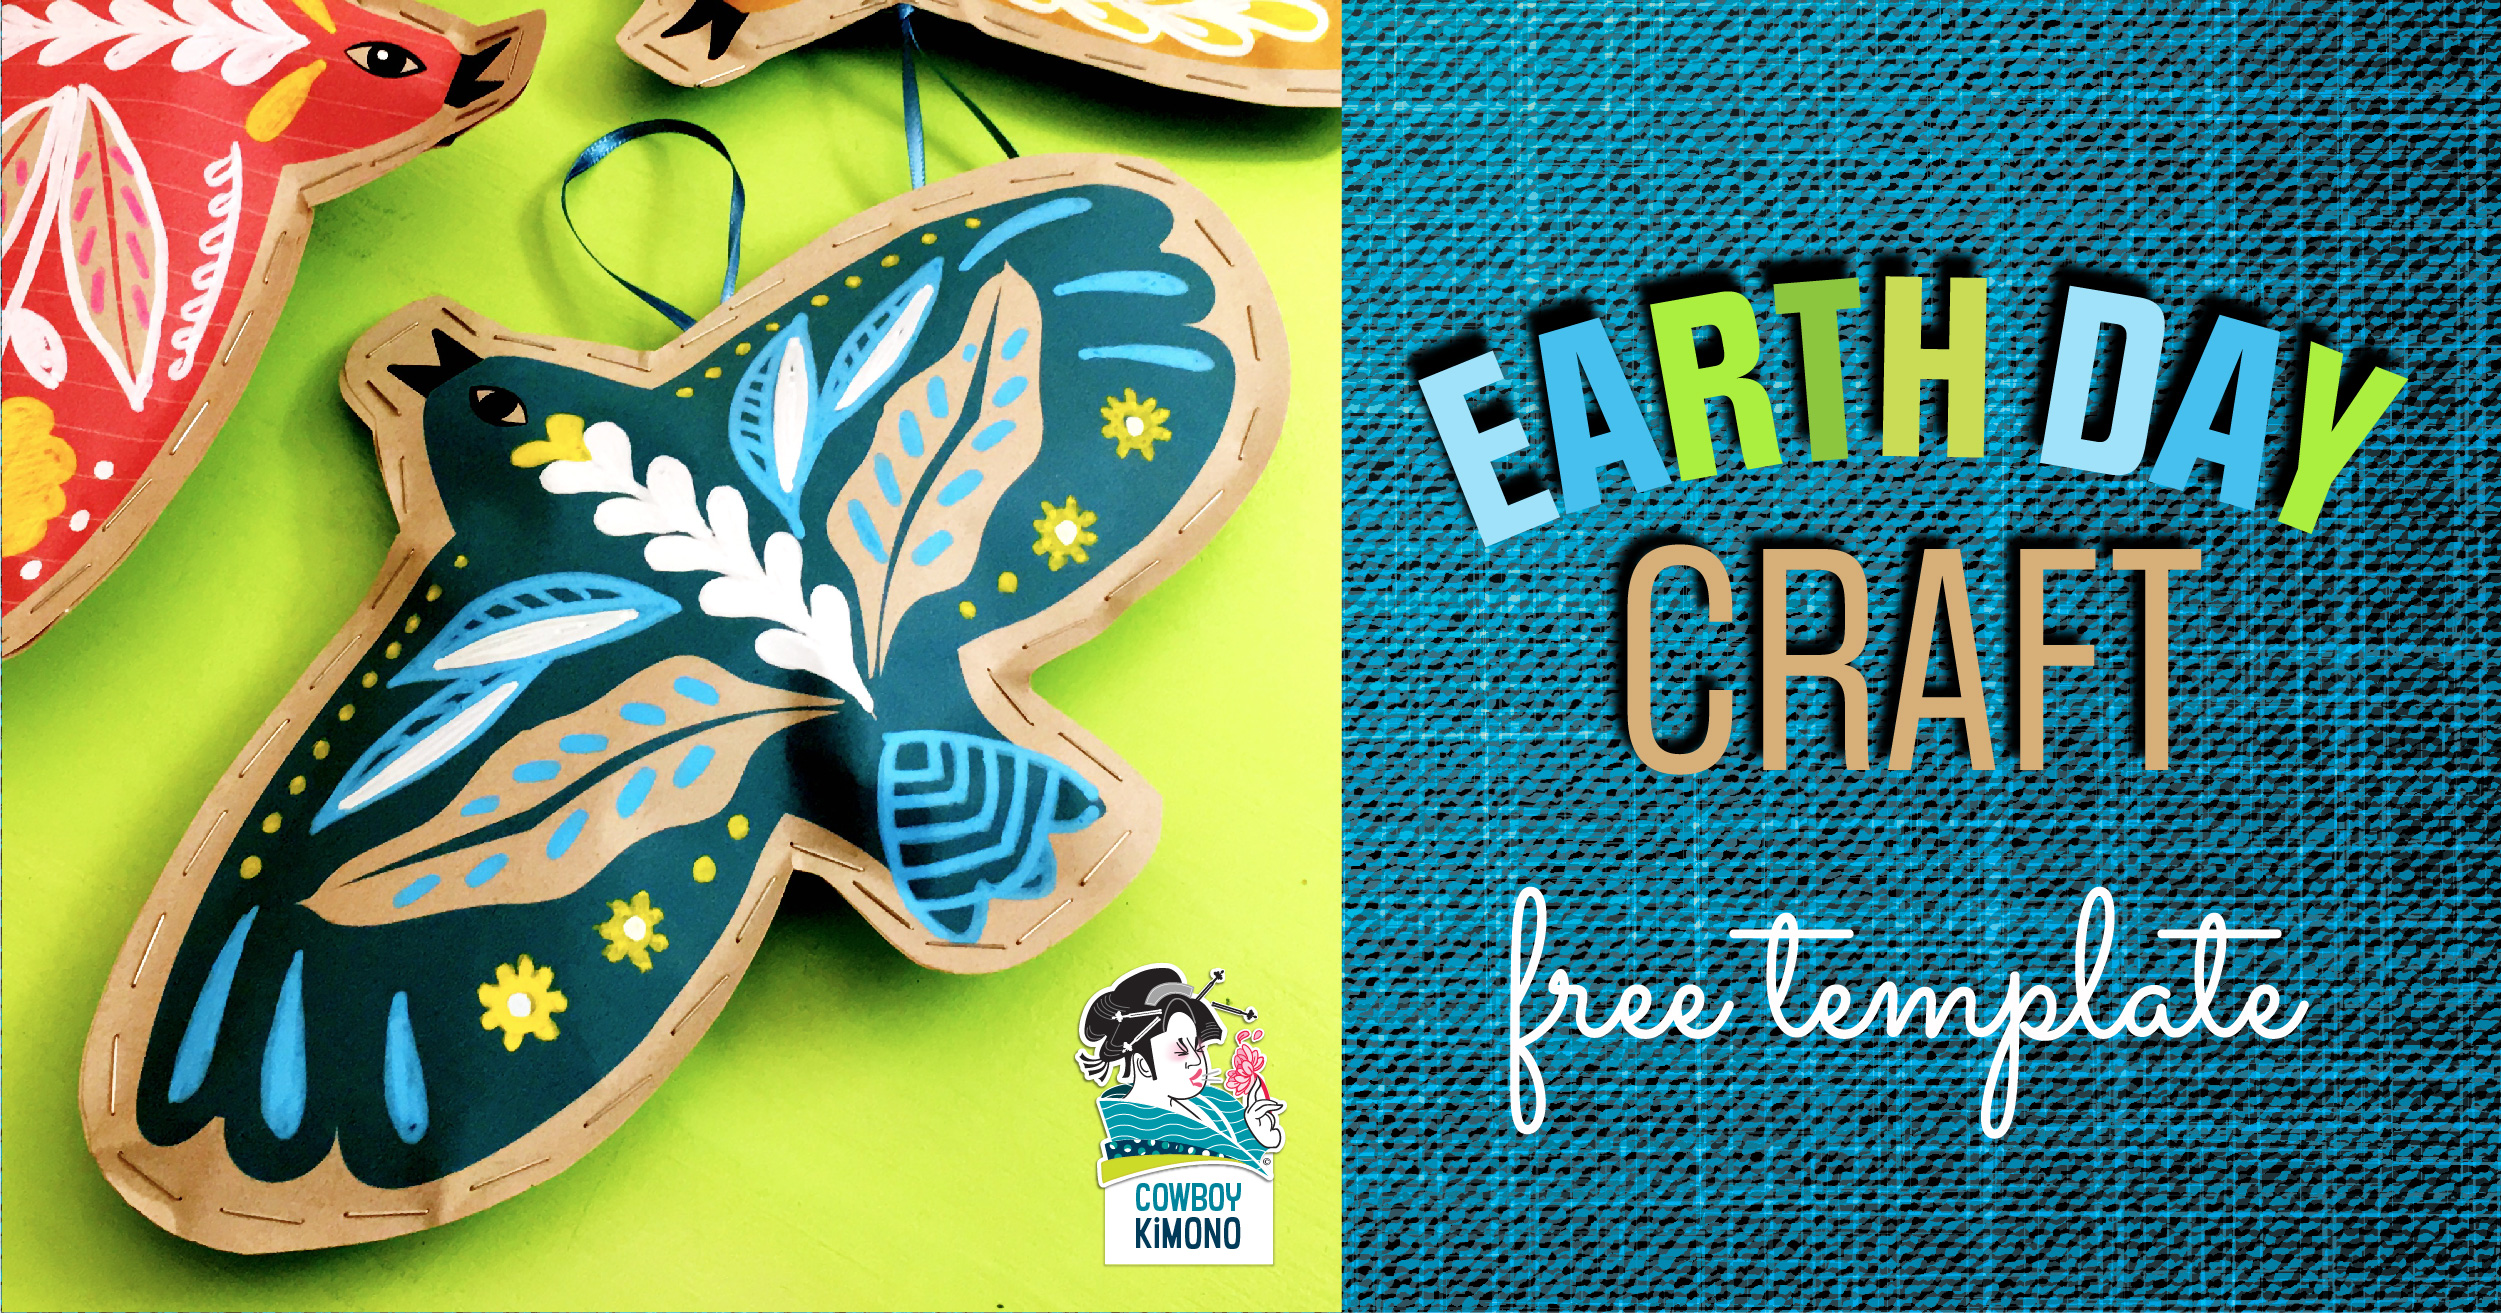
A Two-for-One Craft: Celebrate Earth Day by painting paper pollinators and honor the earth by upcycling waste found around the house. This simple craft can be made and ready to hang before Mother Earth finishes her rotation.
Turn bags inside-out so non-printed sides are showing.
Layer a template on top of the bag. Bag should be folded so there are two layers.
Hold the bird template in place (or lightly tape) and cut leaving a 1/2 inch margin around the outer edge of the bird. Repeat for each ornament. Keep bird shapes that were cut together, paired together.
Decorate one side of each pair with crayons, paint, markers, or paint pens.
Lay the decorated piece on top of the undecorated piece and staple half way around the edge of the bird. (It will look like metal stitches) Do not staple all the way around.
Stuff the bird with paper from your shredder. Tuck away any wayward pieces.
Place a rubber band, knotted piece of string/yarn/ribbon near the neck on the interior. Let the loop side hang out of the bird to use as a hanger. Staple in place.
1 sheet heavyweight paper, cut to fit inside the envelope
1 sheet heavyweight paper, to protect the surface where you are working
Post-it Notes
Mailing Label (optional)
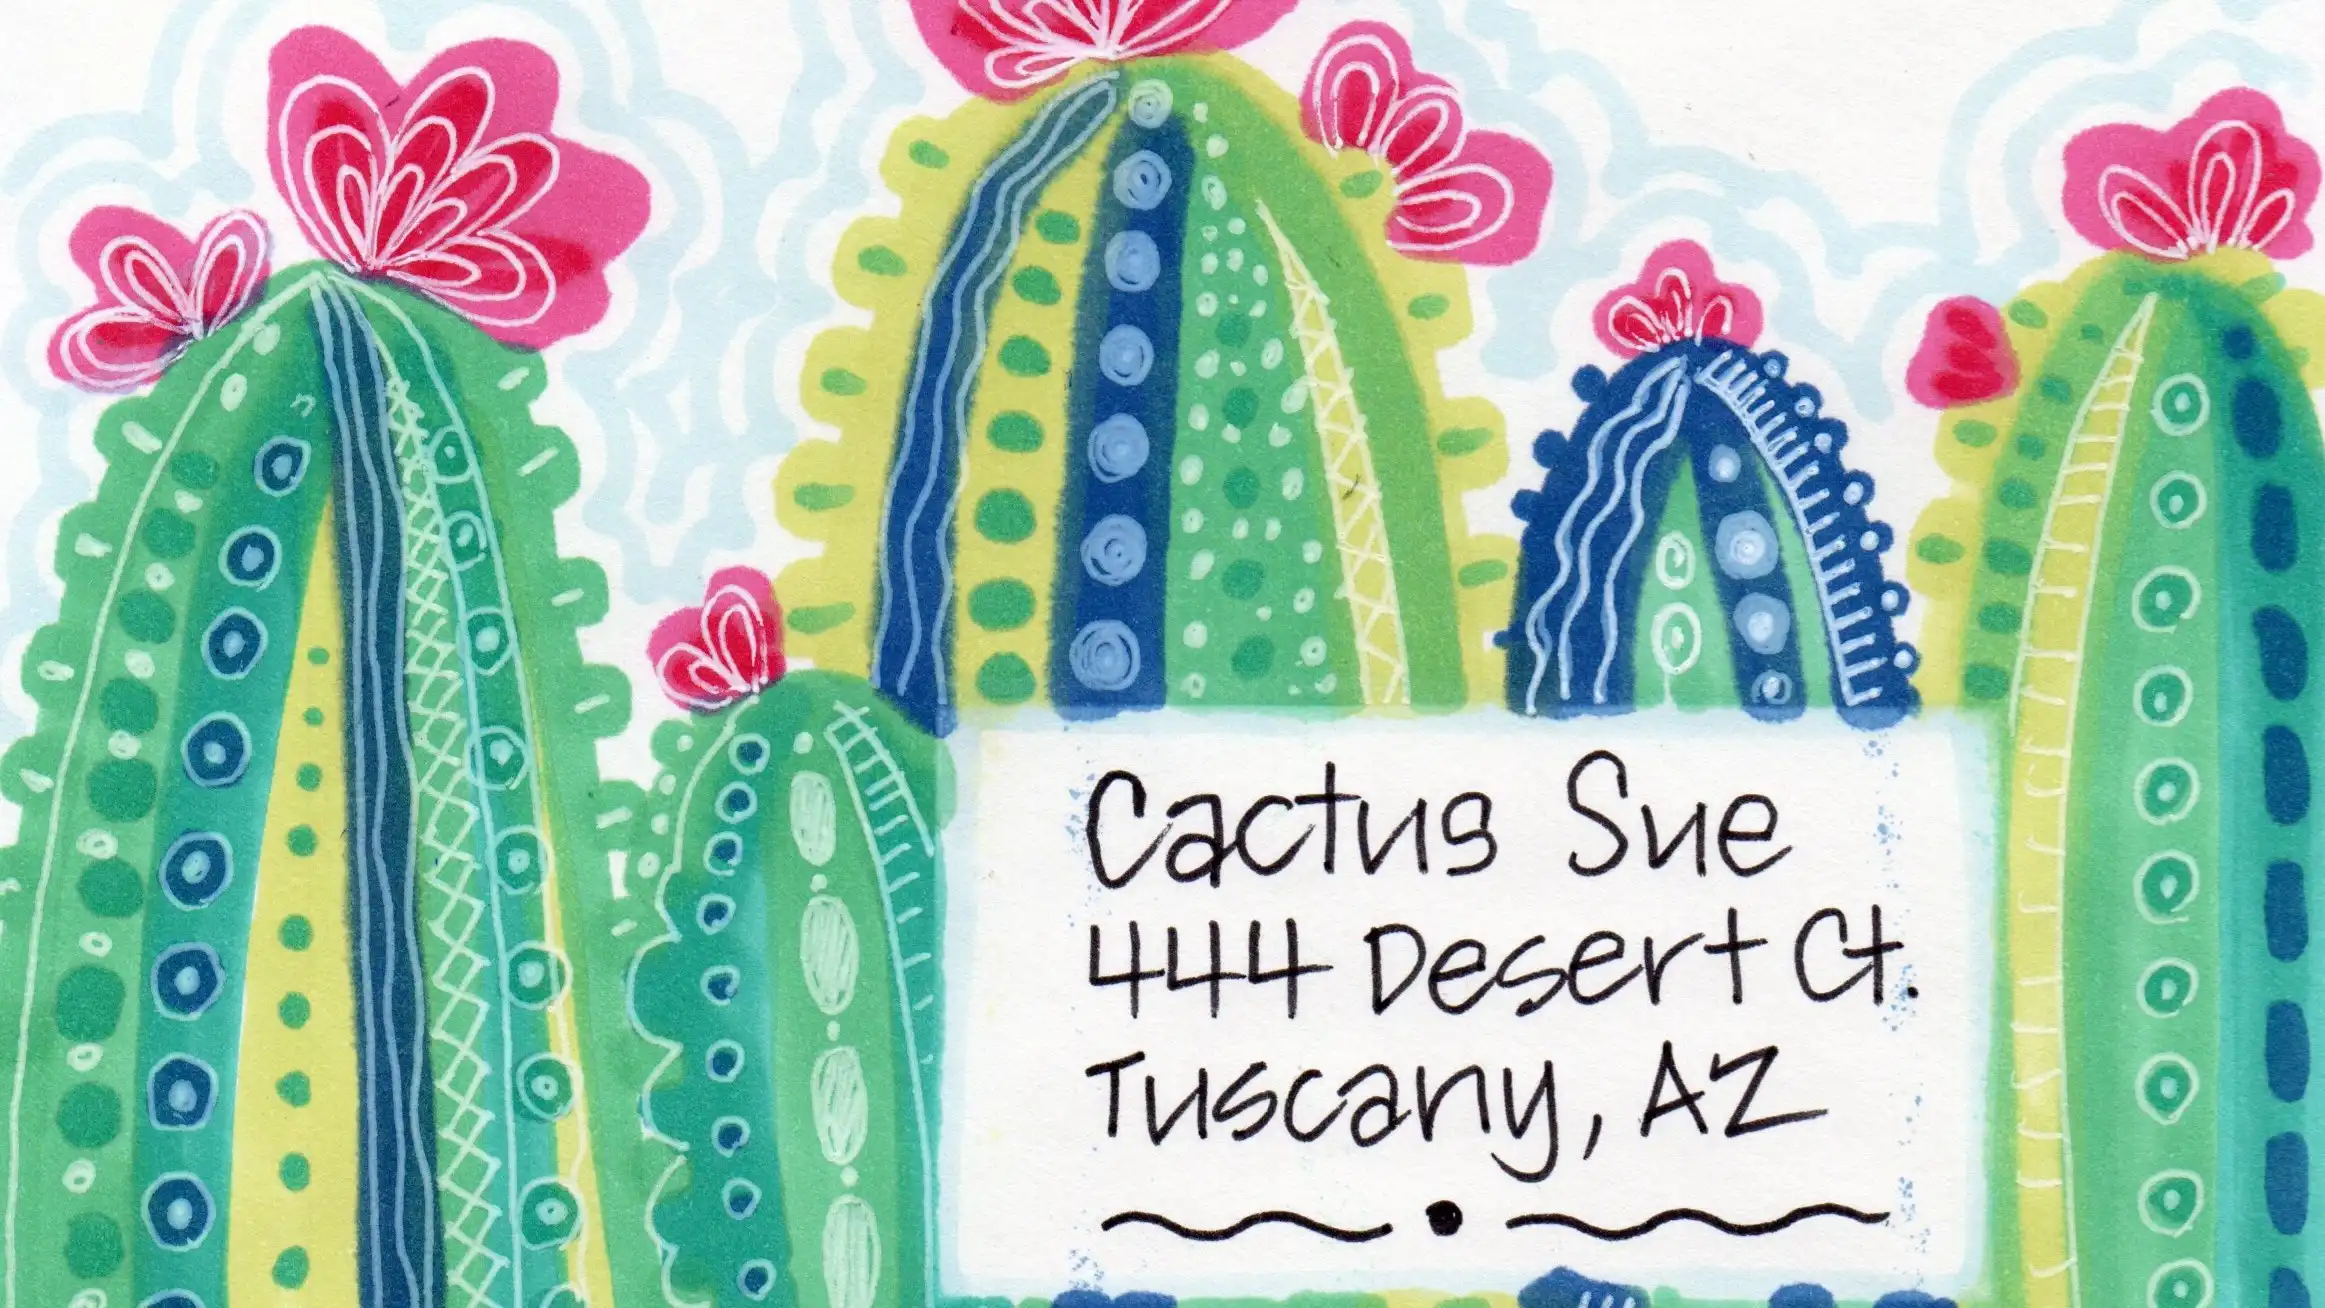
Cactus Patch Art How-To:
Steps
Start by placing post-it notes on the front of the envelope over the address area to keep it the same color as the envelope.
Insert a cut sheet of heavyweight paper inside the envelope to keep the markers from bleeding onto the backside.
Select 3-4 harmonious colors (these would be next to each other on the color wheel or all the same color family). Blues or greens work well. Go a bit wilder by using orange, yellow and red or purple, red and blue.
Using the brush end of the pen, make an inverted “U” that flares out a bit at the bottom.
Grab another color and draw a stripe just to the right of your first line. The stripes can touch or overlap on the edge. Let the stripe get wider as you move towards the bottom.
Repeat until the “U” shape is filled with stripes of color.
Using the fine tip in the same color as your original U-shape, dot the outside to create needles.
Repeat the above steps next to your original U-shape, but make this one smaller in size and overlap it a bit. This will create the illusion of depth.
Continue making different sizes and overlapping until the bottom 2/3 of the envelope is covered.
Pick two harmonious colors for the blossoms. Using the fine tip, make clusters of upside-down teardrop shapes along the top each cactus.
Select one of the lightest markers and use the fine tip to draw lines for the sky.
Use your white Signo pen and marker’s fine tips to draw different patterns lining the cactus stripes. If you need some pattern ideas, check out the black and white handout (below).
With the white Signo pen, add needles to the edges.
Finally, draw concentric teardrop lines inside the cactus blossoms using the white Signo pen.
Remove post-it masks. Cover address area with a mailing label for cleaner edges (optional)
You can play with the design even more by:
Mixing-in different types of cactus – add a barrel cactus or prickly pear.
Create a sea life version with coral, starfish, and seaweed.
Finish the envelope by lining it with colorful paper. Envelope liner templates are available at Pennysmiths Paper.
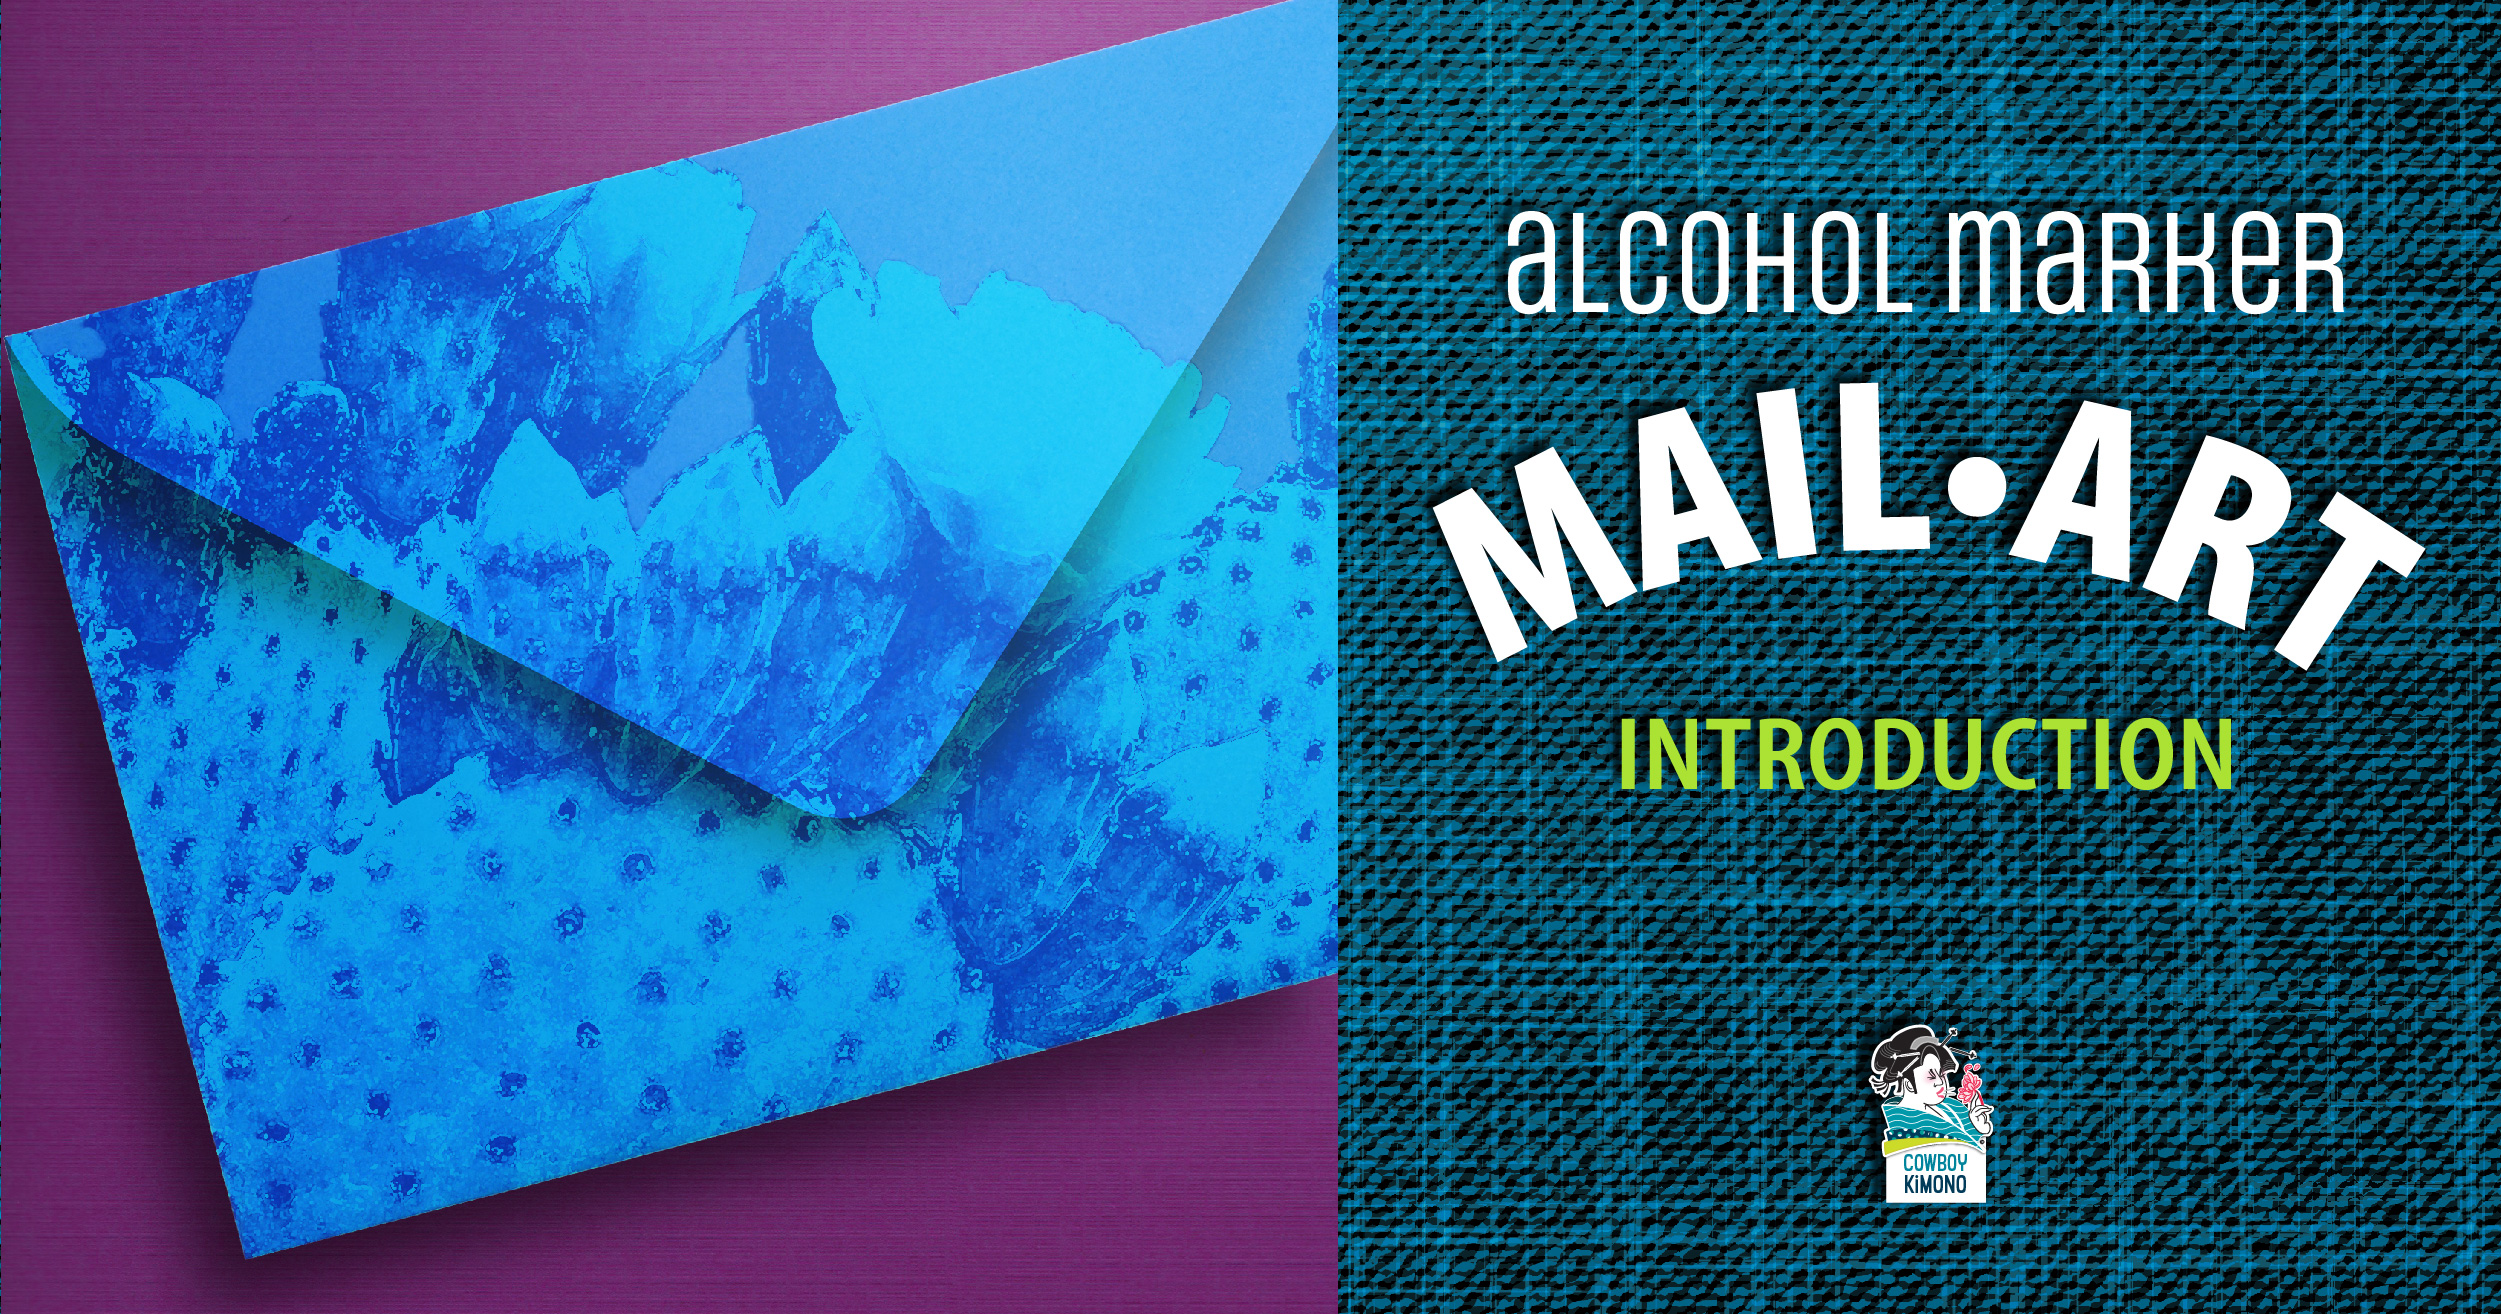
My Mom was a mail magician. She would make letters appear a few days into my week of summer camp. I’m not sure if she wrote them the moment after she dropped me off or if she had them written before I left. Even though I was only away from home for seven days, the letters usually hit when my homesickness kicked in. Her distinctive cursive and stories about all that was going on at home included weather reports, updates on my five siblings, Dad’s doings and tales about the family dog.
In this season of summer camp adventures and family travels, my mother’s letters are a springboard for this elevated envelope project. Hopefully, the writer will enjoy marking and coloring as much as the recipient digs the arty envelope!
One colorful cactus-themed envelope in timelapse appears below. (ta-da!)

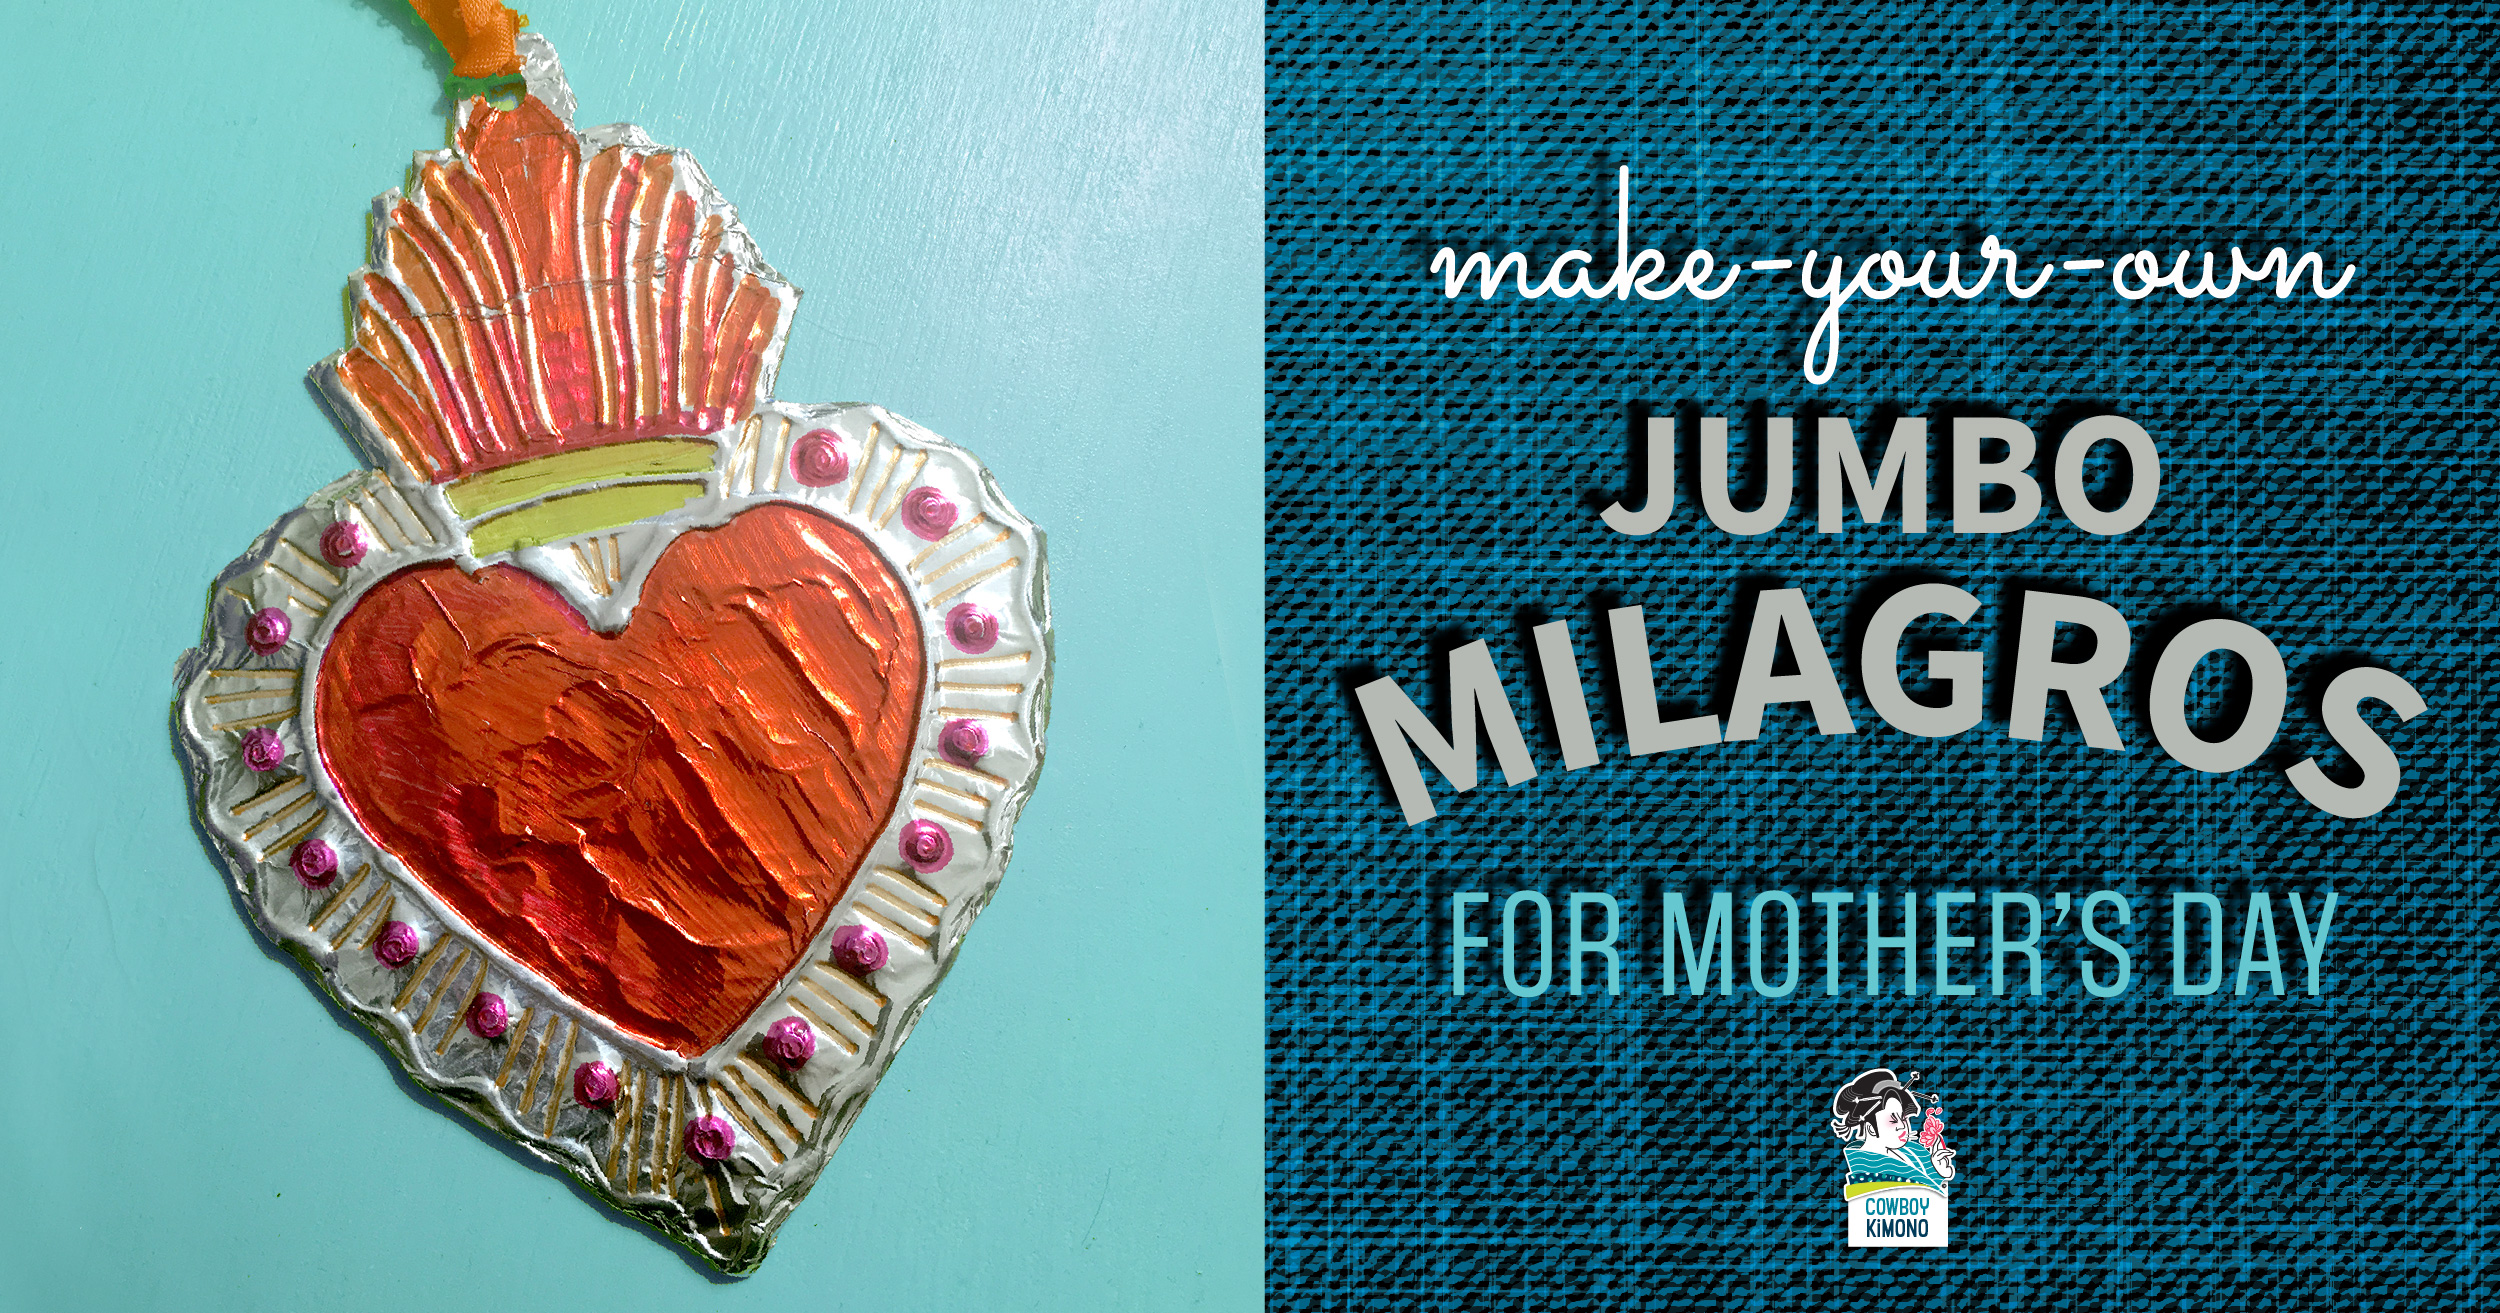


 Jumbo Milagros