Tag: handmade
Crafted by hand with care and creativity — from stitched garments to painted decor and beyond.
-
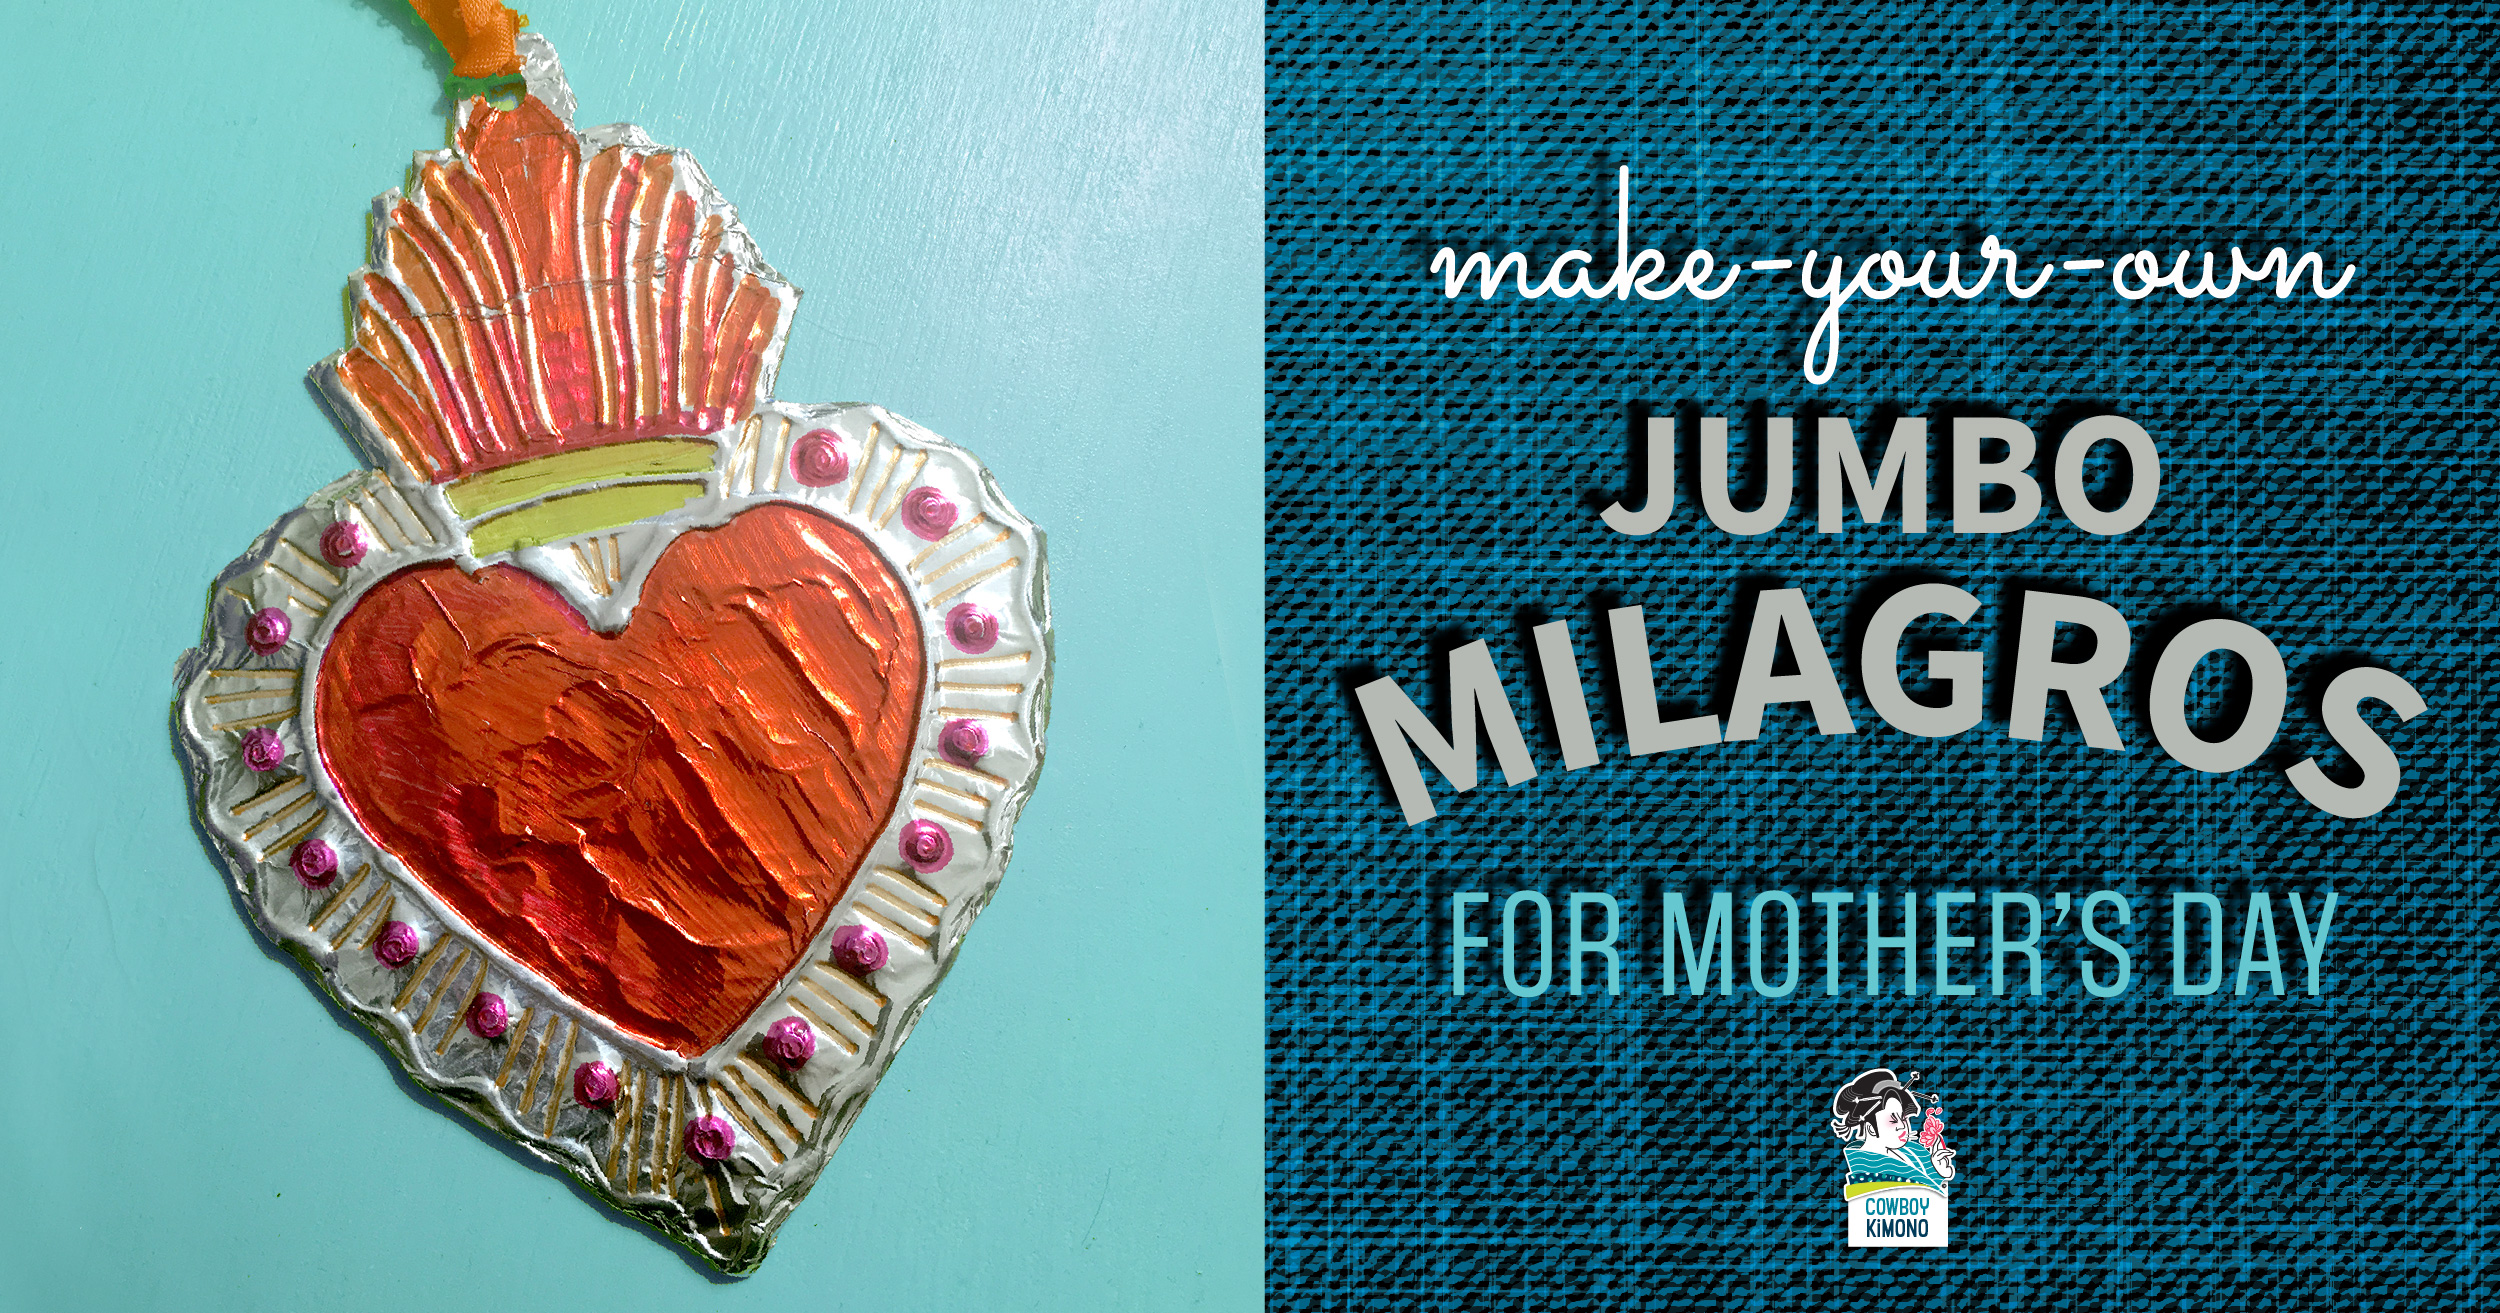
Jumbo Milagros for Mother’s Day
Celebrate Mom on her day by crafting, loud and proud Milagro charms that screams to the world, “This is MY Mom and I LOVE HER! ” This simple craft can be made by small or big hands. Milagros strung on ribbon magically transform into a stunning necklace that any Mom would wear with pride.
What are Milagros?
Alternatives Global Market Place: “Milagros, meaning “miracle” in Spanish, are religious folk charms found in many areas of Latin America and Southern United States. They are used by people to petition for help or protection. These small metal charms are attached to altars, shrines or sacred objects. Milagro Charms can also be carried for protection and good luck. They are made in a variety of shapes, representing body parts, animals and many other objects. They are used to assist in focusing attention towards a specific ailment or need, based on the type of charm used. A milagro’s symbolism is not uniform and can take on individual meanings. ” Milagro Symbolism


 Jumbo Milagros
Supplies
- Milagro Templates
- Glue Stick
- Tag Board or Cardboard (tag board is used to package cereal, crackers, frozen pizza etc..)
- School Glue, Hot Glue, or 3D Fabric Paint
- Aluminum Foil
- Sharpies in a Variety of Colors
- 1/8-inch wide (or close) Ribbon, cut into 6-inch segments for each Milagro
- 1/2-inch wide (or close) Ribbon, cut into 20-inch length for necklace
- Hole Punch
- Scissors
- Scotch Tape
Directions
- Print Milagro templates.
- Cut out each Milagro 1/2-inch away from outer edges. Put written descriptions aside to put on the back of milagros later.
- Coat the back of each Milagro template with glue stick.
- Adhere Milagro templates to cardboard/tag board and smooth out with your hand.
- Using school glue, hot glue or 3D fabric paint, draw over all the lines to create a raised areas. Allow plenty of time to dry and harden.
- Cut out cardboard/tag board shapes close to the edges.
- Lay Milagro shapes face down on foil. *Note: if you want the shiny side of the foil to show, put the shape face down on the dull side.
- Cut the foil 1/4-inch away from the edge of the shape.
- Wrap the foil around the edges of the shape and press onto the back. Clip into corners or along curves as needed to make the foil follow the edges.
- Tape edges on the back side
- Rub the foil side with your finger to make the raised areas stand out.
- Color with Sharpies and allow to dry.
- Adhere the written description of the Milagro to the non-foil side.
- Punch a hole inside each semi-circle “loop” with a hole punch.
- Thread the thinner ribbon through this “loop” and tie a knot on the end. Repeat for each Milagro.
- String the Milagros onto the longer length of ribbon for a colorful, blingy, charm necklace.
-
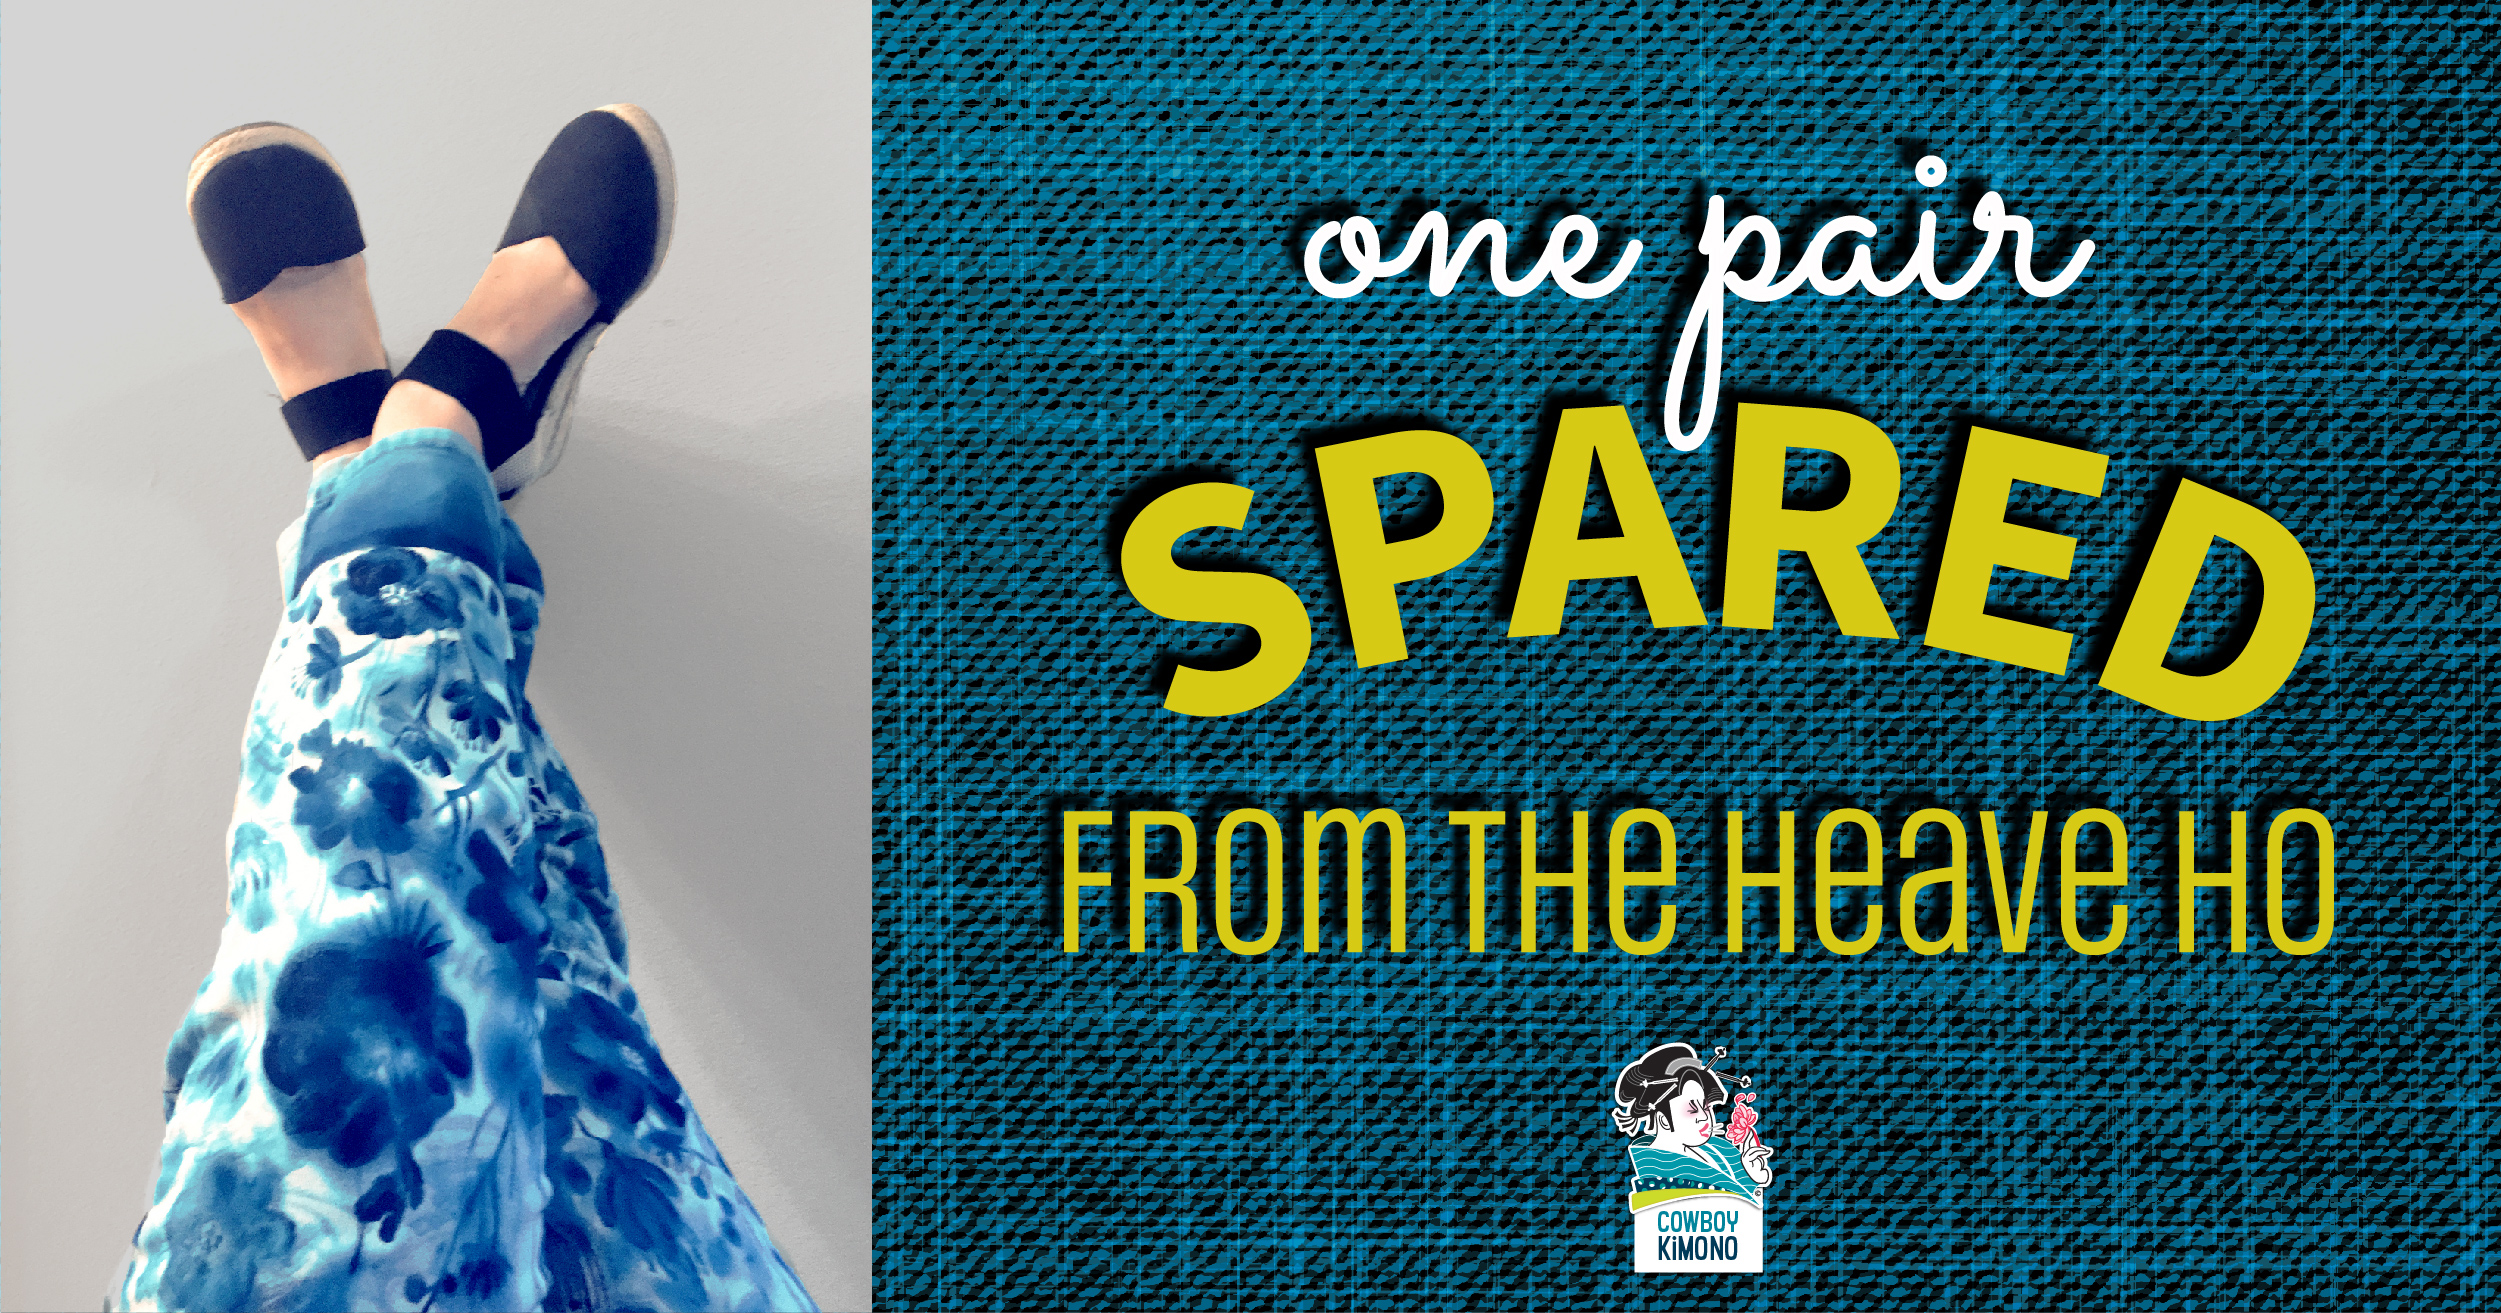
Fabric Paint Saves Stained Pants
I almost lost one of my favorite pair of pants to a defiant paint stain. Before giving them the heave-ho, I devised a rescue plan using fabric paint. Gambling on the pants looking like a chintzy couch from 1983 or looking like a boho oldster, I chose a watercolor flower pattern in indigo. Now, I’m wearing them and a smile. Here are the directions for this fabric paint rescue:
Supplies
- Acrylic Paint (I used Craft Smart, Premium Satin, Midnight Blue)
- Delta Ceramcoat Textile Medium
- Small Spray Bottle filled with water (to create watercolor effects)
- Scrap Cardboard – cut into the shape of pant leg to prevent paint from bleeding through to the opposite side of pants. Stuff inside leg of pant while painting.
- Paint Brushes
- Paper Towels
- Paper Plate Palette
- Optional: Print Outs of watercolor flower patterns for reference
Instructions
- Place cardboard inside pant legs to tighten fabric (which improves the painting surface), and prevent paint bleed-through to the other side.
- Prepare your painting supplies:
- On a paper plate, mix a blob of acrylic paint with textile medium.
- Have a cup of water available for brush washing and dipping.
- Fill the spray bottle with water.
- Keep paper towels near for dabbing your brush, sopping up spilled paint, or blotting paint application that is too heavy.
- Paint using watercolor flower reference or your imagination.
- To achieve a wet-on-wet effect, spray the fabric first and paint with diluted, watery paint.
- To achieve a dry brush effect, dip your brush in undiluted acrylic paint and lightly blot it with paper towel. Test a couple of brush strokes on a piece of scrap paper. Then stroke paint onto a dry area of the pants.
- Remove cardboard and allow painted pants to dry 24 hours.
- Turn pants inside-out and iron painted areas, without steam, on medium heat.
- Done! Now it’s time to go forth and show off your mad pant painting skills. * Download the painted denim laundry instructions for care.
-
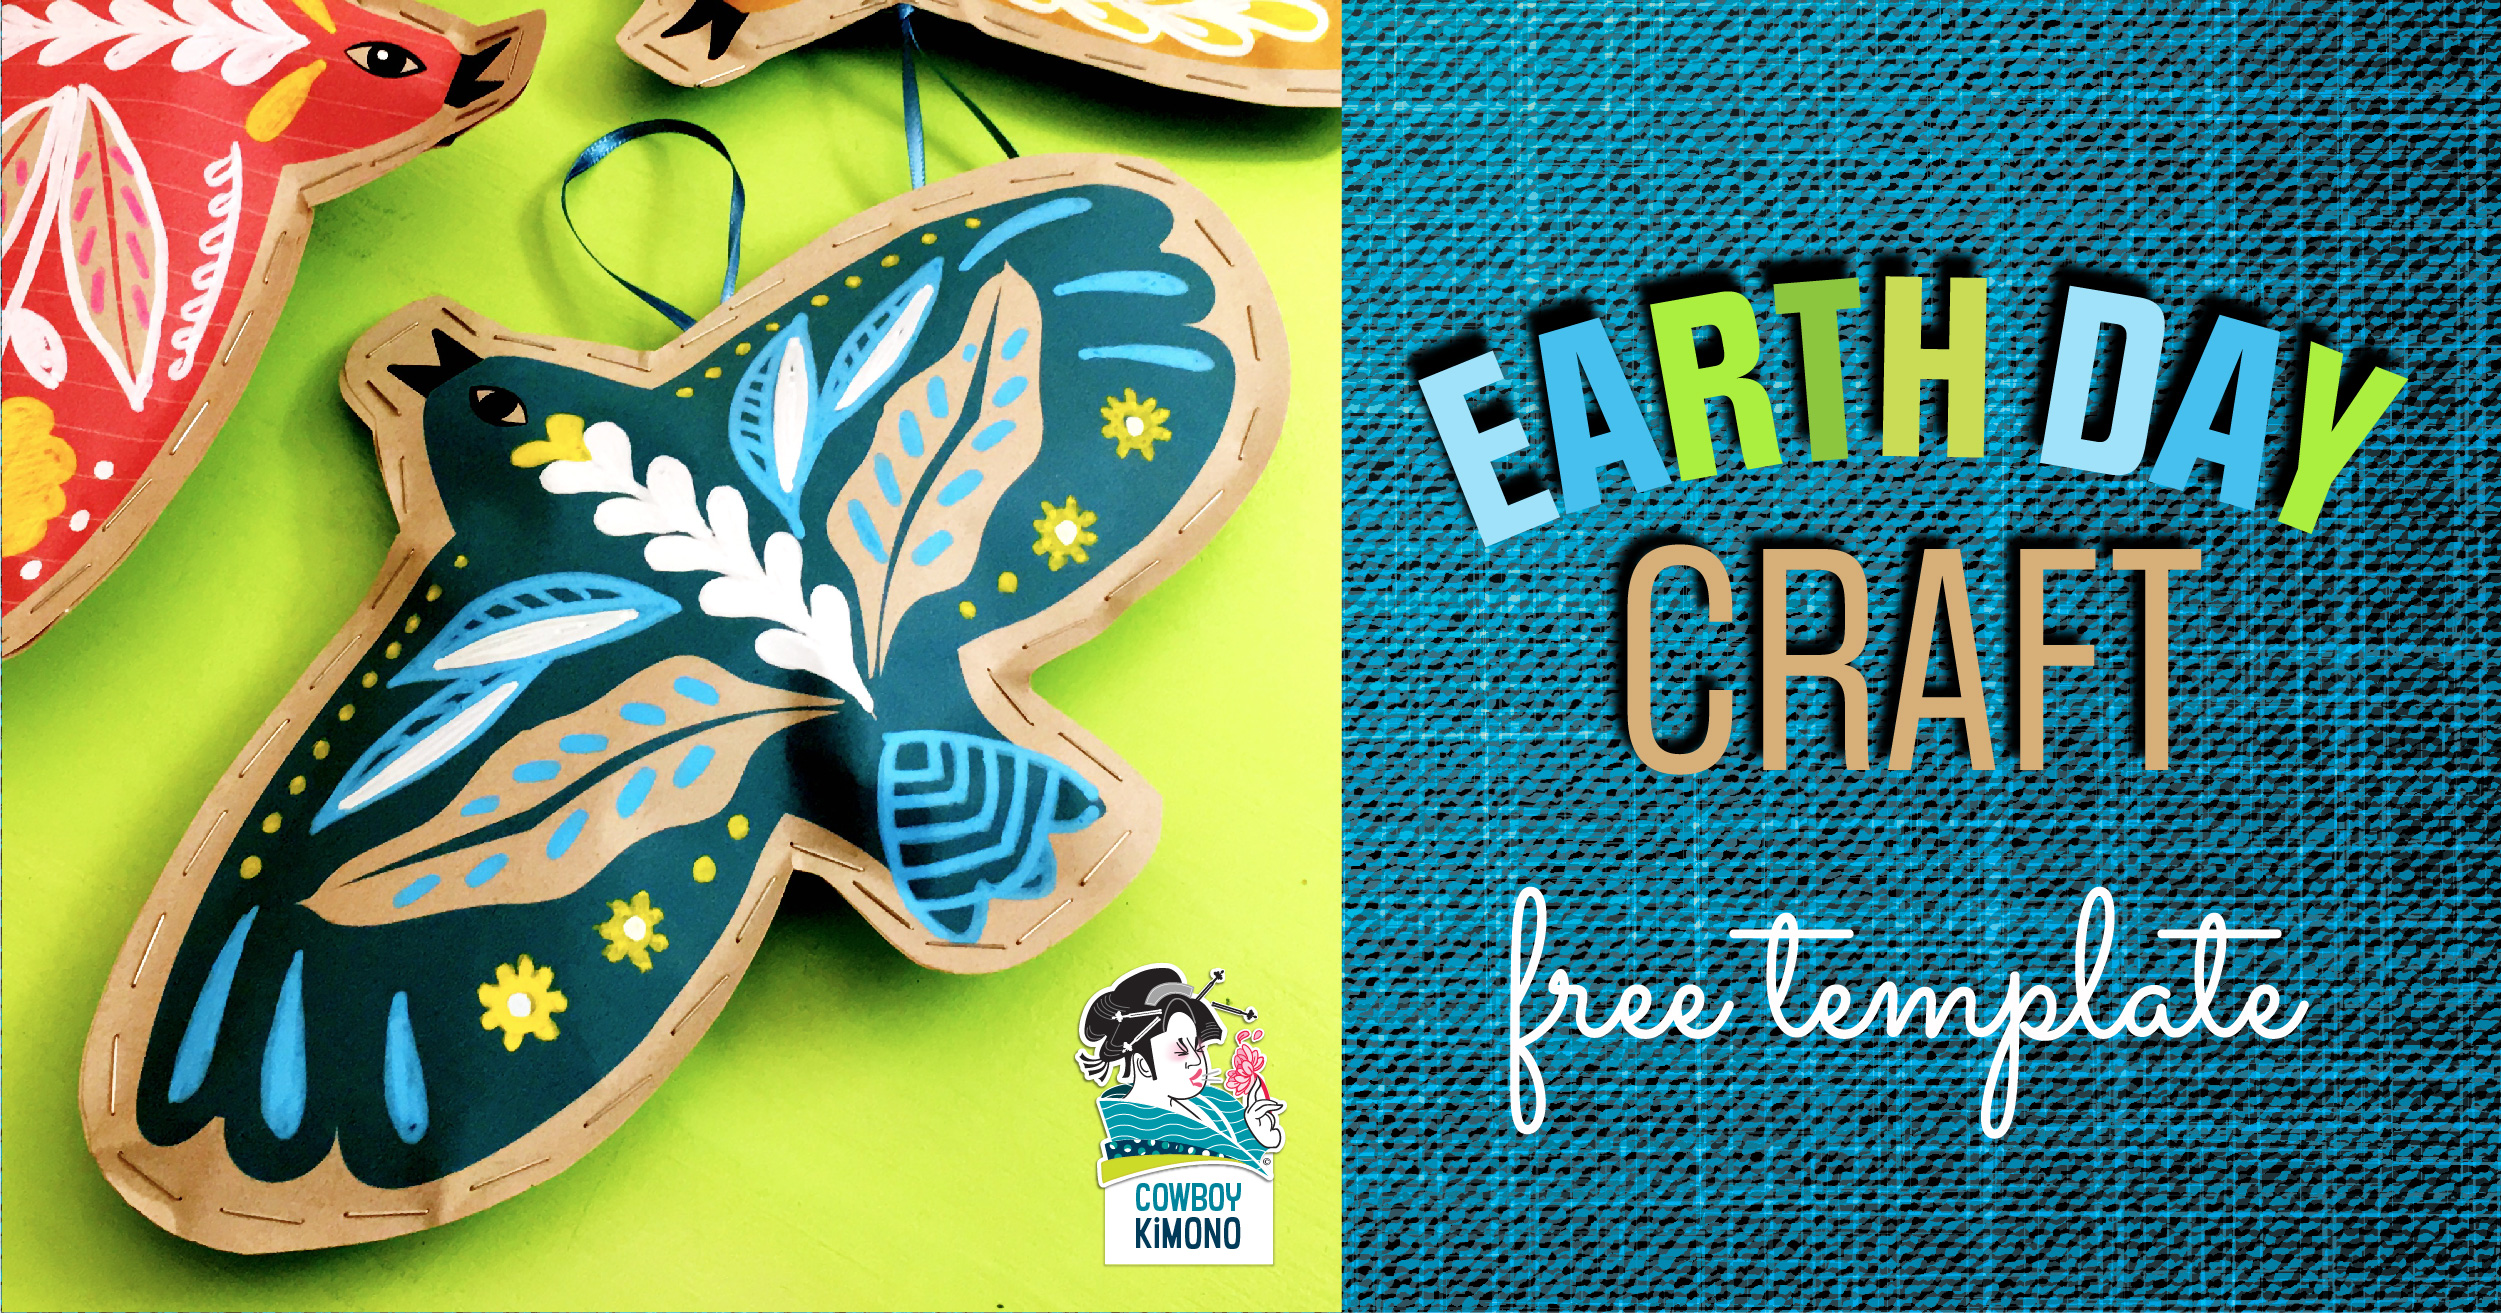
Grocery Bag Bird Ornaments
A Two-for-One Craft: Celebrate Earth Day by painting paper pollinators and honor the earth by upcycling waste found around the house. This simple craft can be made and ready to hang before Mother Earth finishes her rotation.
Supplies
- Paper Grocery Bags
- Crayons, Paint, Markers or Paint Pens
- Stapler
- Shredder Paper
- Scissors
- Rubber Bands, String, Yarn or Ribbon
- Bird Template
Directions
- Download and print bird templates
- Cut grocery bags down the center side folds.
- Turn bags inside-out so non-printed sides are showing.
- Layer a template on top of the bag. Bag should be folded so there are two layers.
- Hold the bird template in place (or lightly tape) and cut leaving a 1/2 inch margin around the outer edge of the bird. Repeat for each ornament. Keep bird shapes that were cut together, paired together.
- Decorate one side of each pair with crayons, paint, markers, or paint pens.
- Lay the decorated piece on top of the undecorated piece and staple half way around the edge of the bird. (It will look like metal stitches) Do not staple all the way around.
- Stuff the bird with paper from your shredder. Tuck away any wayward pieces.
- Place a rubber band, knotted piece of string/yarn/ribbon near the neck on the interior. Let the loop side hang out of the bird to use as a hanger. Staple in place.
- Finish stapling the edge of the bird.
- Take a photo and Tweet your handiwork!

-
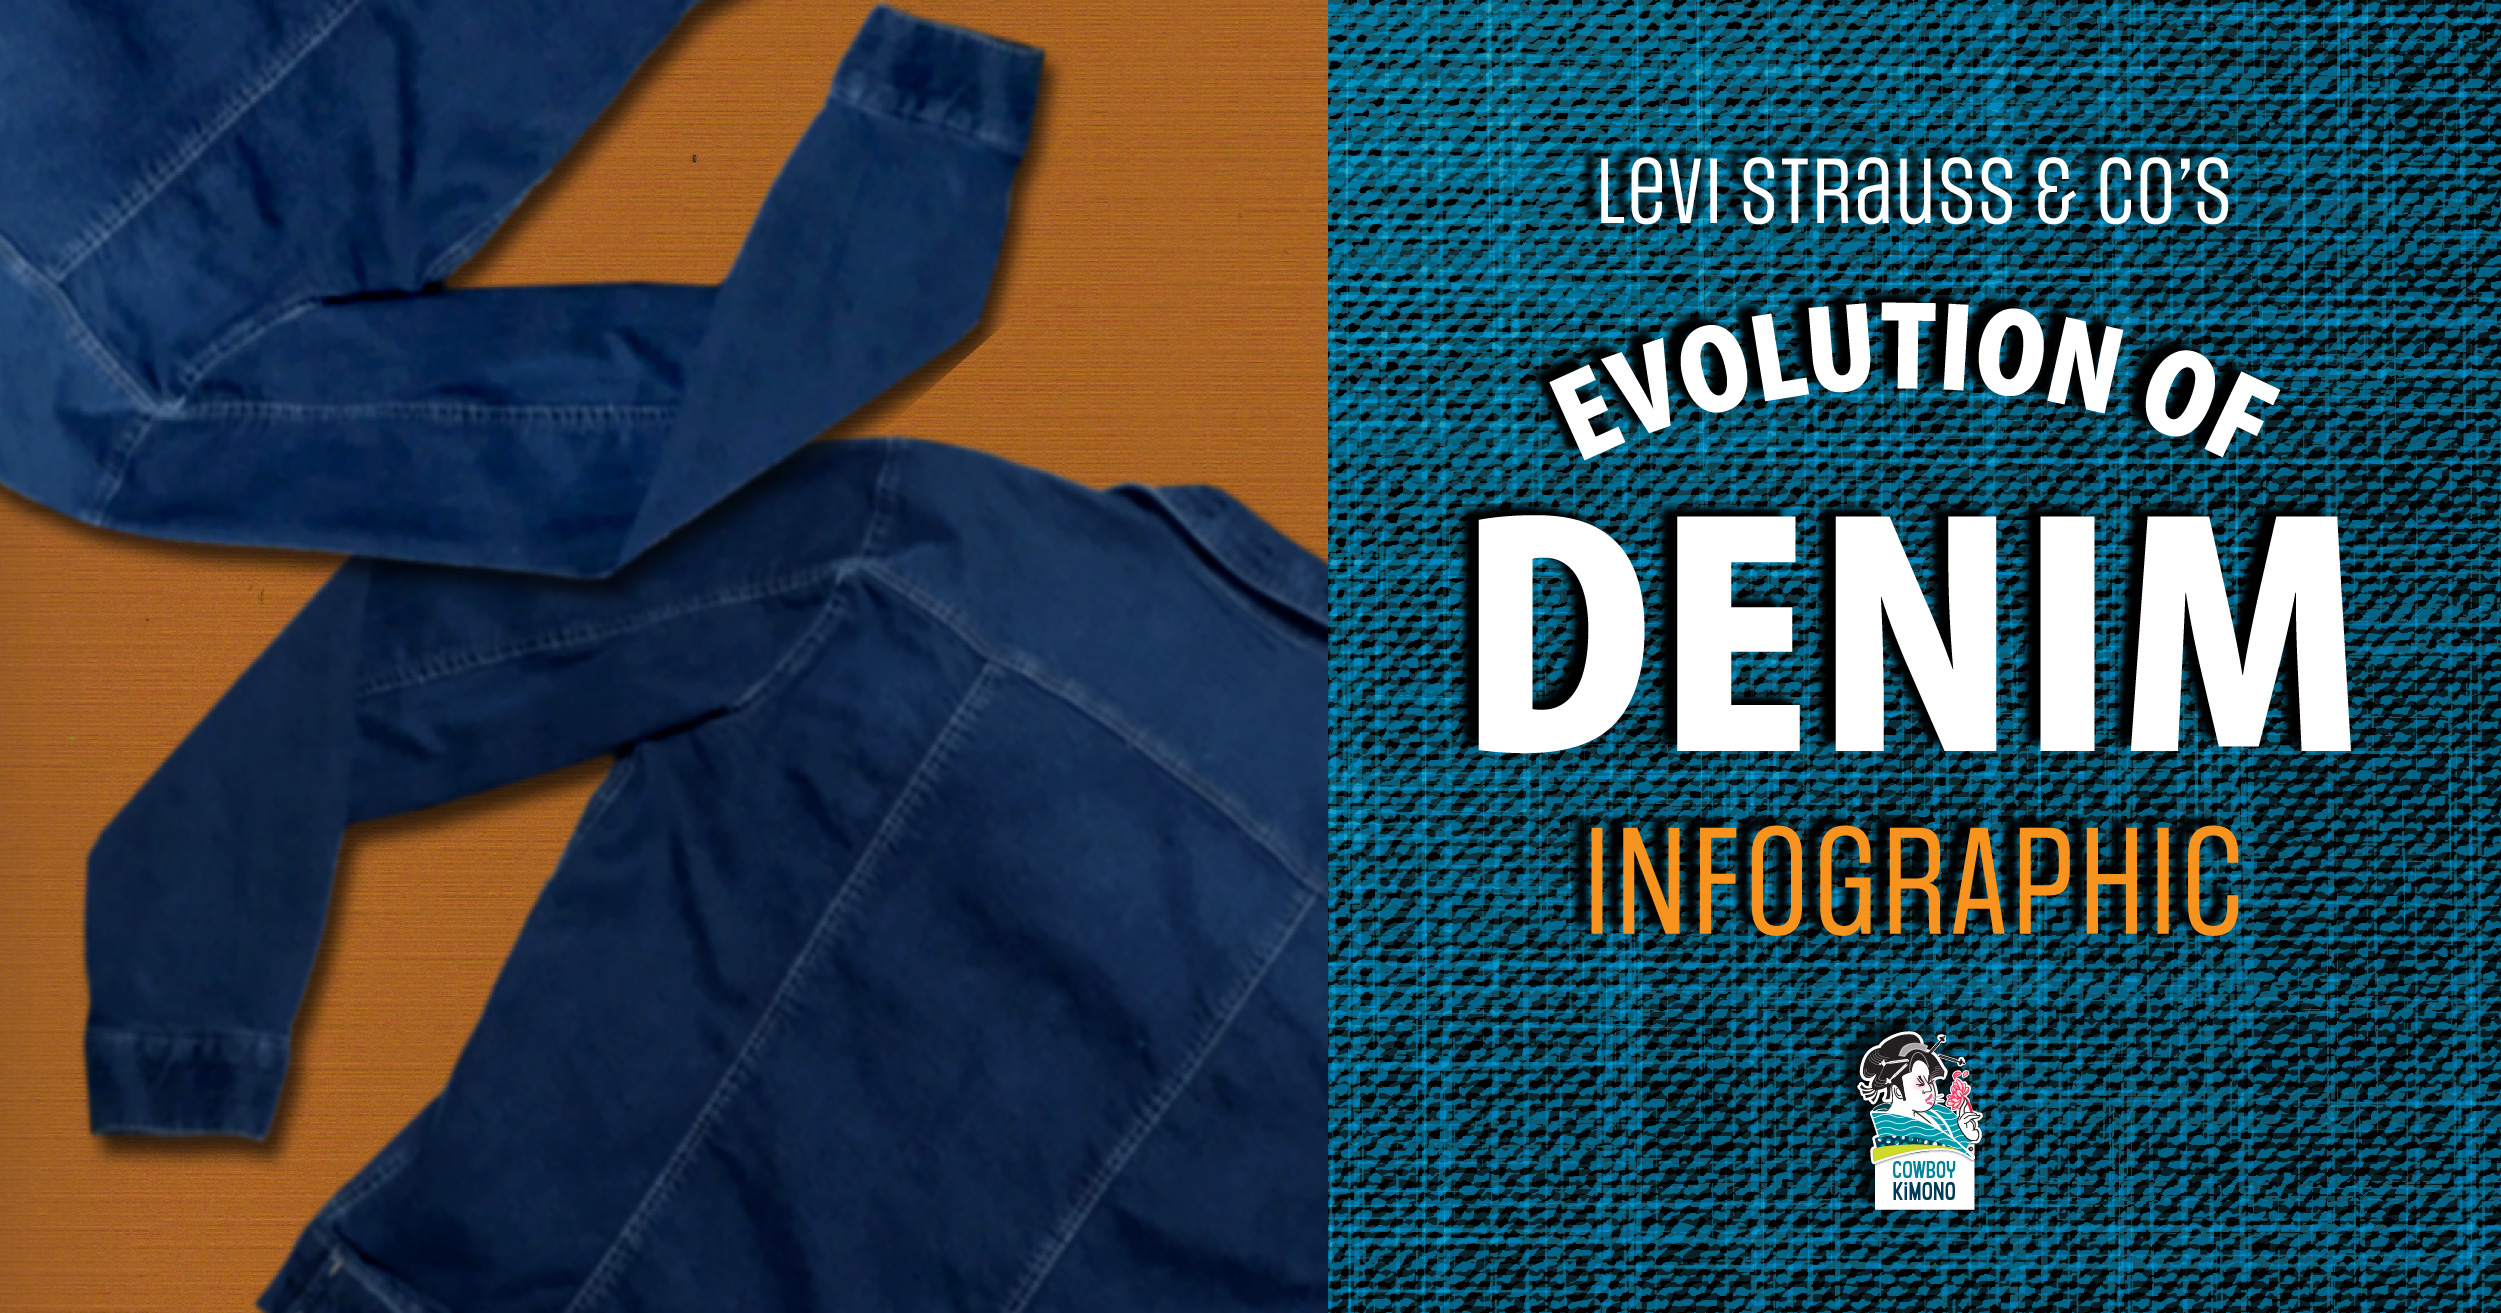
The Evolution of Denim
Did you know? Bing Crosby was refused a room at a hotel in Vancouver because he was wearing jeans? Levi Strauss & Co. was the first to attach a label to the OUTSIDE of a garment? The evolution of denim from conception to adaptation to perfection – all in one infographic! An interesting, quick read for denim fashionistas.

-

Painted Denim Mash-up
My Fashion Relationship: It’s Complicated
One single style doesn’t usually do it for me. I dig mashing-up fashions like Funky + Fabulous, Mariachi + Tres Chic, Astro + Artsy. Creating Cowboy Kimonos allows me to marry unlikely fashion trends that shout, “I’m an original!” Got a dream mash-up? Create your own using the Mash-up Generator.

Mash-up Generator
Mix & Match the styles below to make a Mash-up. Don’t know the style? Click the links! (From Sew Guide, Fashion Styles: 40 Types)
- Streetwear Style
- Ethnic fashion style
- Formal Office Wear
- Business Casual
- Evening Black Tie
- Sports Wear
- Girly Style
- Rocker Chic Style
- Skateboarders
- Goth Fashion
- Maternity Style
- Lolita Fashion
- Gothic lolita style
- Hip Hop Style
- Chave culture Style
- Kawaii fashion
- Preppy style
- Cowgirl fashion style
- Lagenlook Fashion style
- Scene fashion style
- Girl next door fashion style
- Casual Chic Style
- Geeky chic Style
- Military style
- Retro Fashion
- Flapper fashion (20’s look)
- Tomboy
- Garconne look
- Vacation (Resort) style
- Artsy Fashion style
- Grunge style
- Punk
- Boho/Bohemian chic
- Psychedelic Fashion style
- Cosplay Fashion
- Haute Couture fashion style
- Modest fashion
- Rave fashion
- Flamboyant style
- Ankara Fashion Style
Ready to Make Your Mash-up into a Custom Painted Denim Jacket?
- SHARE your style mash-up with me and I’ll create a sketch.
- LIST your likes and dislikes, then I’ll tweak the sketch until we agree on a final design
- TALK COIN. Price is determined by what parts of the jacket are painted, how detailed the design is, and high or low paint coverage. I’ll prepare a quote and begin painting once we agree on price and payment.
- PAINT happens. Once complete, the jacket will dry for 24 hours before it ships.
- SHIP and SHARE. Once you get your custom Cowboy Kimono, show it off, take a pic and I’ll post it!
-
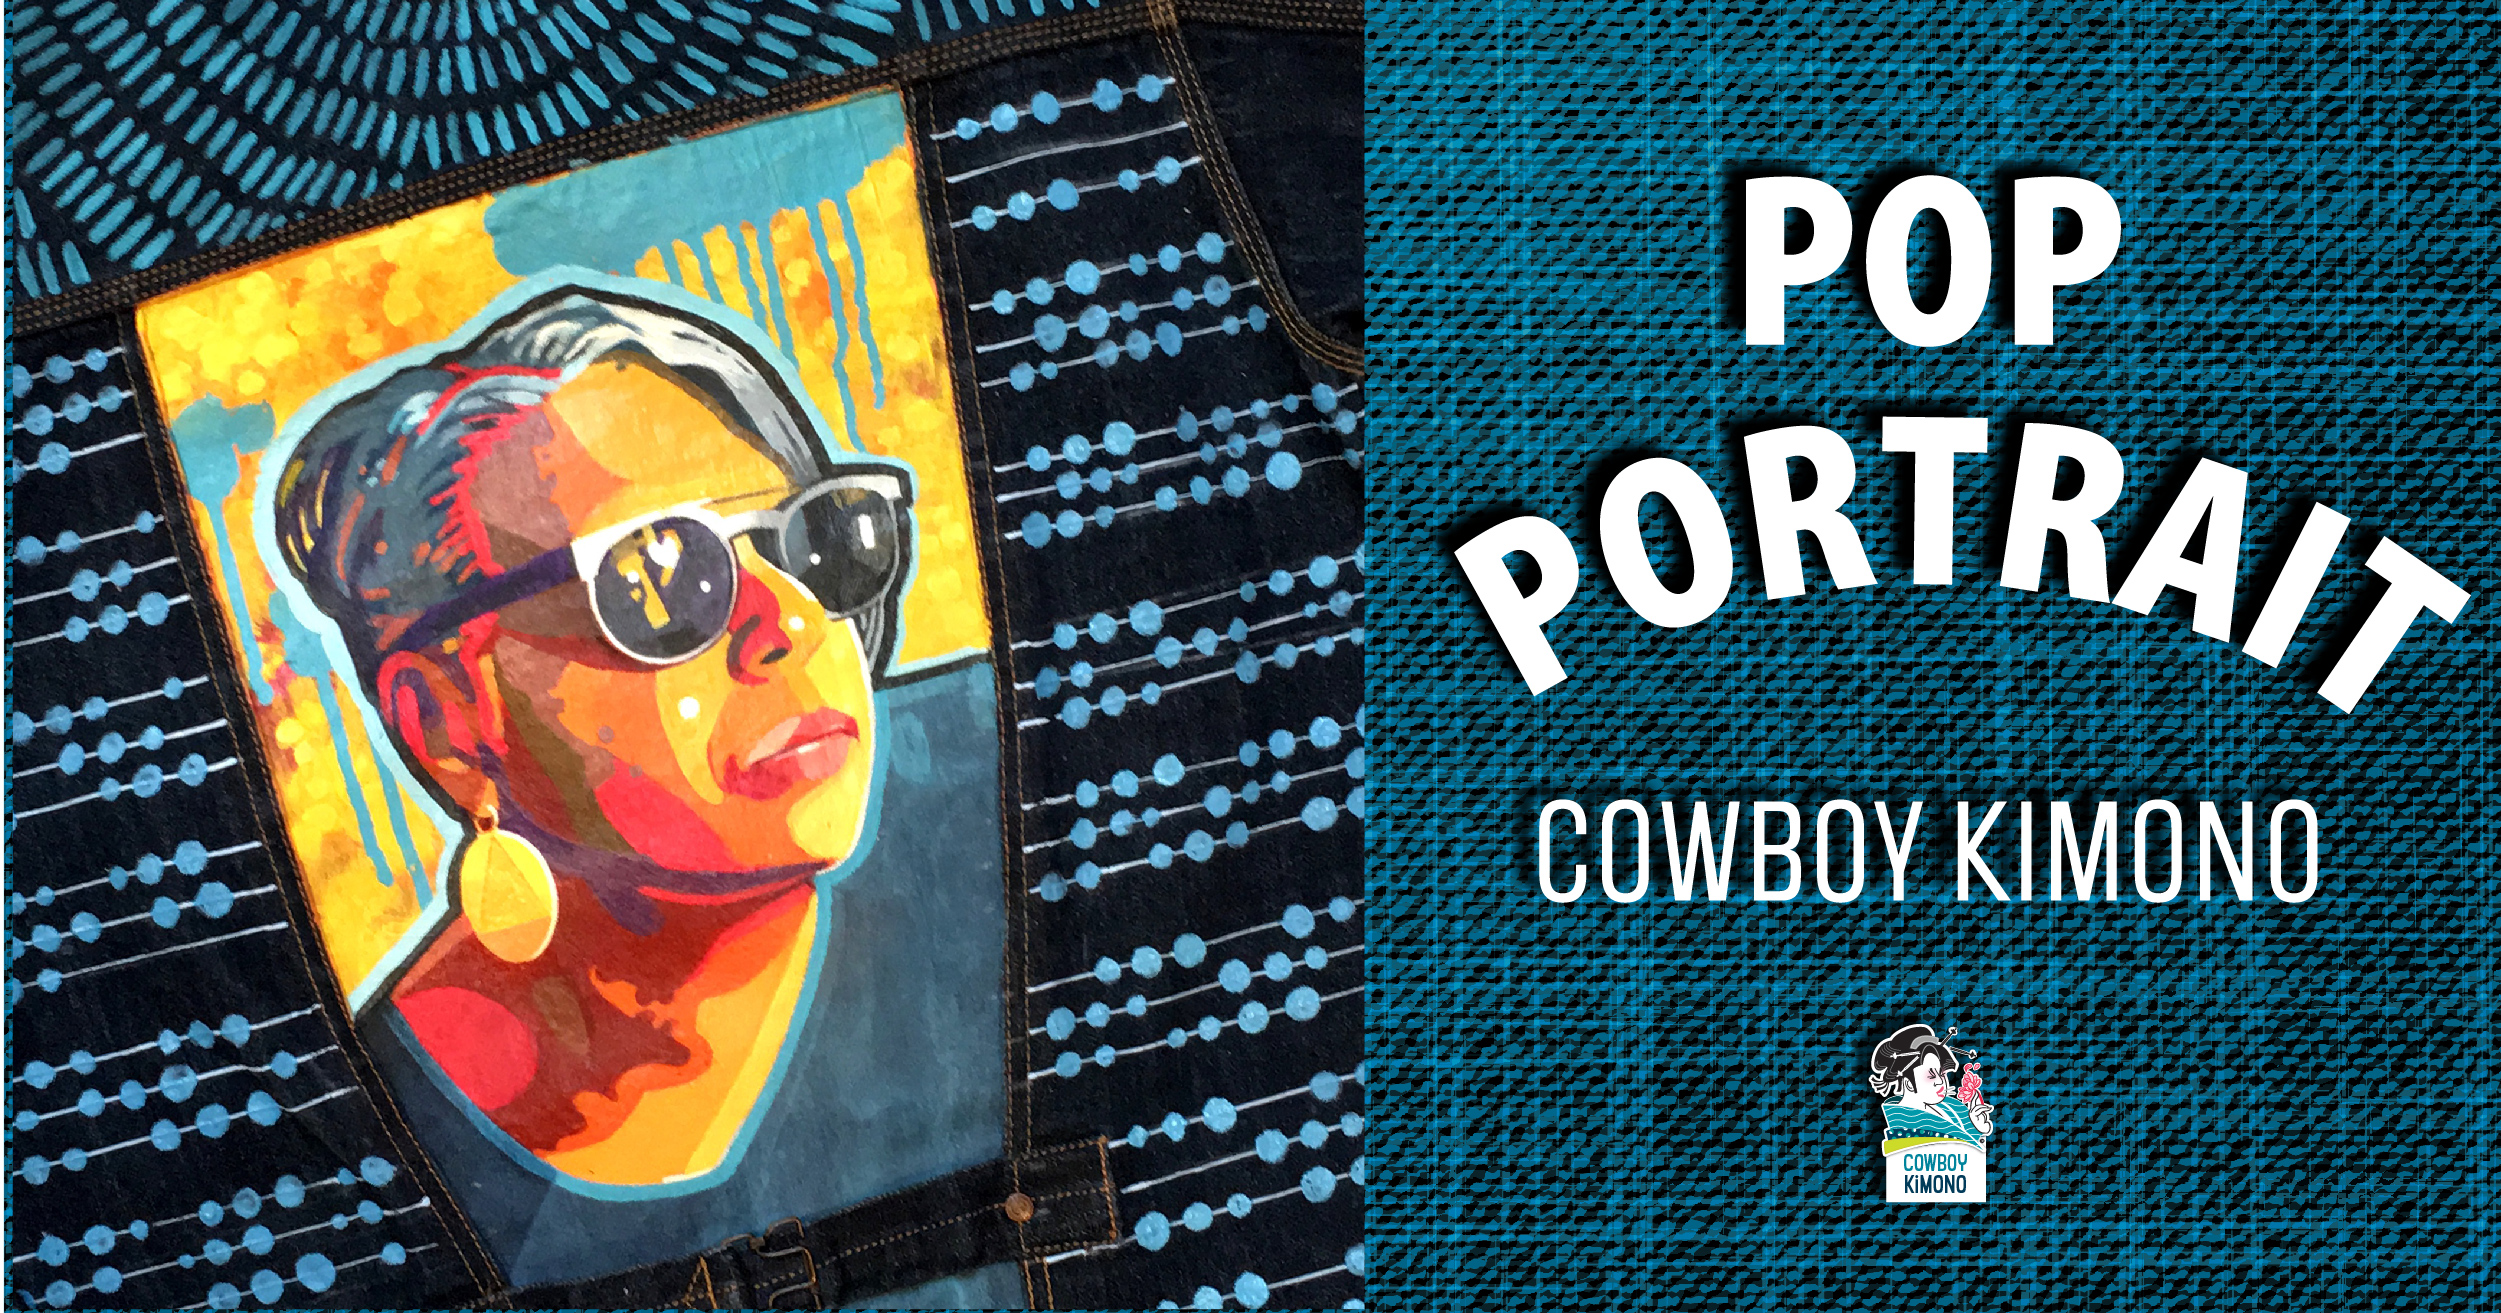
Painted Portrait Jacket
Just delivered this freshly painted, Cowboy Kimono, to a dear friend and creative supporter. She commissioned the project as a present to herself and wanted something as vibrant as her personality. The few simple asks included maintaining the glory of her silver hair (she earned every strand and it’s a source of pride). Her response to the preliminary sketch was an enthusiastic, “Go for it.” (Love that form of creative cheerleading)
Interested in a custom Cowboy Kimono? Let’s talk!
