Tag: holiday crafts

Handmade decor and festive projects made for holidays like Memorial Day, Halloween, or Christmas.

  • Shell Yeah, My Tree’s Still Up.

    Shell Yeah, My Tree’s Still Up.

    How to Make Metal Embossed Seashells and Starfish Ornaments

    Yep, you read that right-I keep a tree in my living room year-round, and instead of packing it away after December, I just keep dressing it up with whatever makes me smile. Birds, flowers, seashells, starfish—you name it, it finds a branch. Think of it as a revolving gallery of my whims.

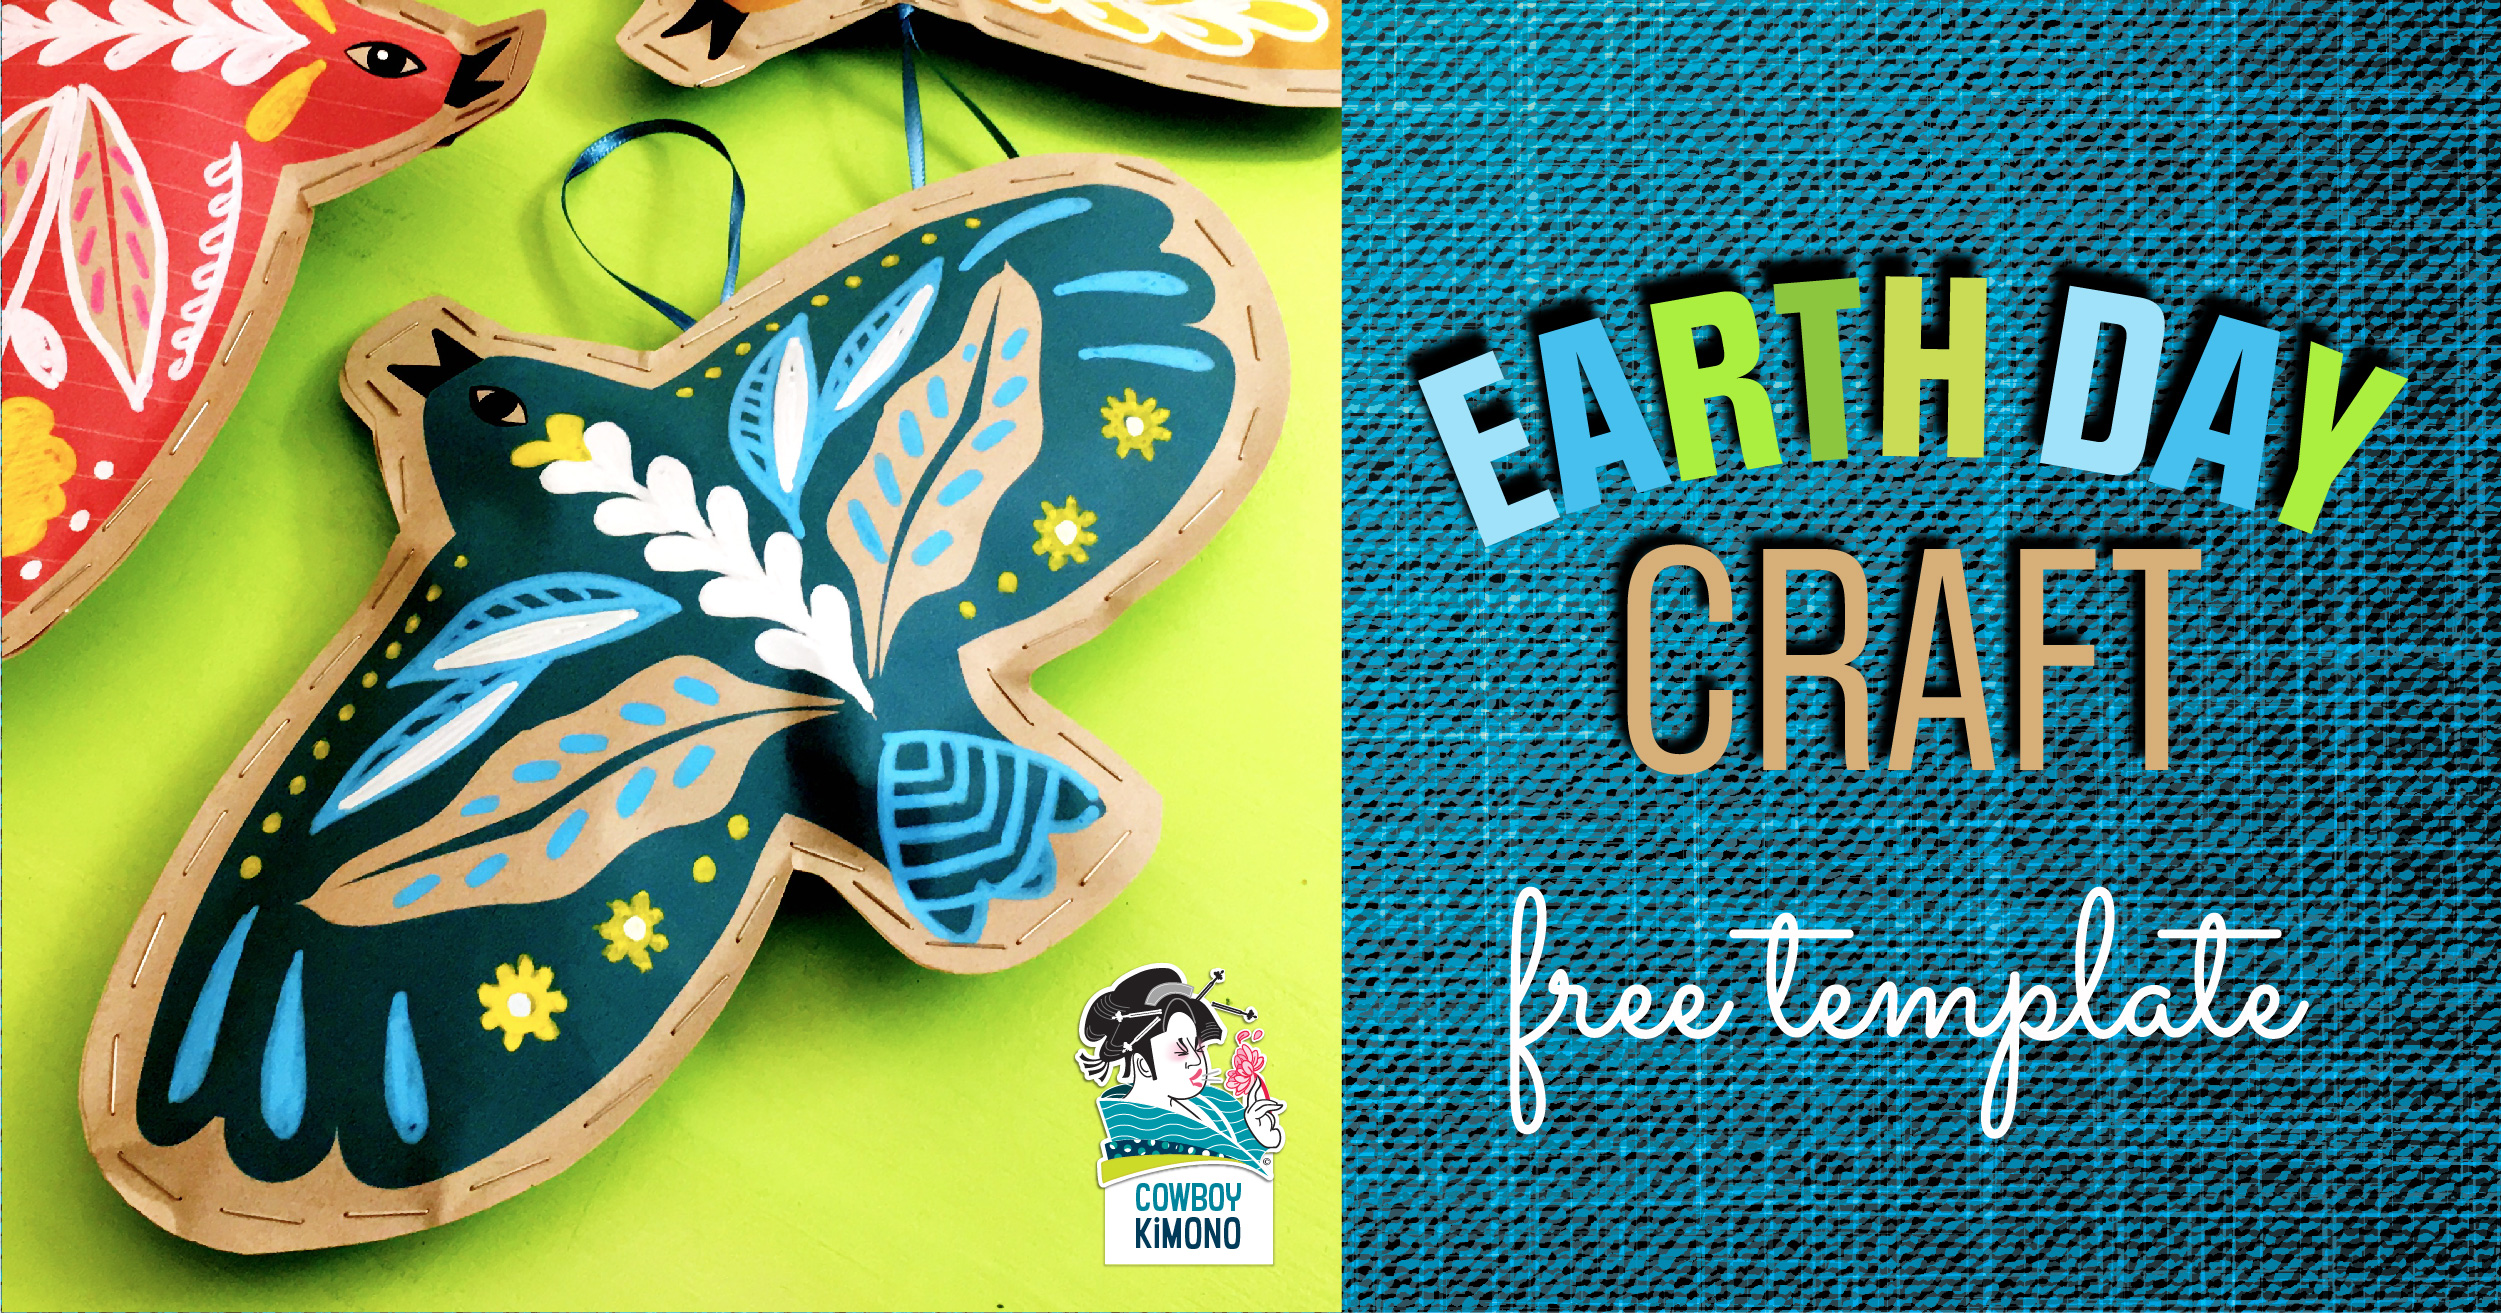
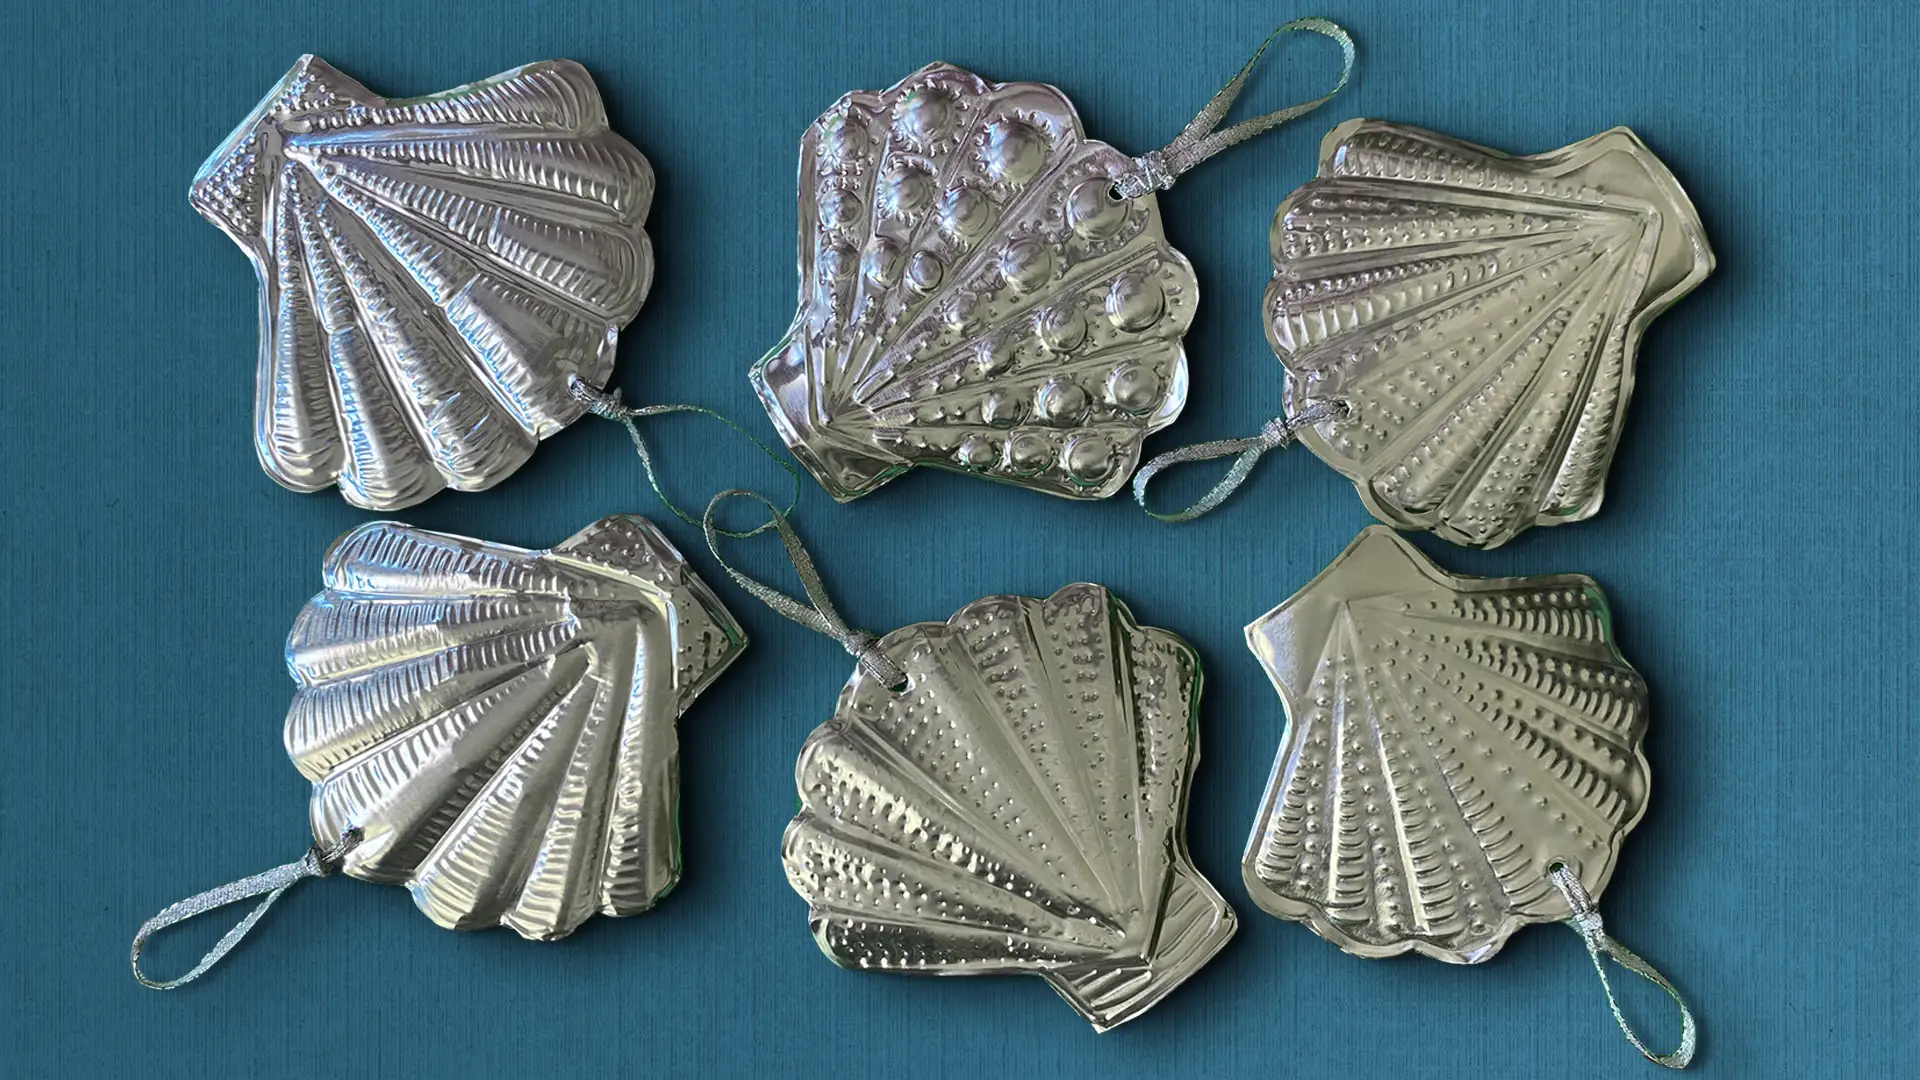
    Today I’m showing you how to make your own shiny DIY ornaments using metal embossing. Don’t worry—it sounds way fancier than it is (spoiler: you’ll be using a ballpoint pen). The end result? Handmade ornaments that catch the light beautifully and bring a little beachy, earthy magic into your space, no matter the season.

    Supplies you’ll need:

    • Sea ornament templates (starfish + seashells)
    • Scissors
    • Masking tape
    • Craft foam sheet (9” x 12”)
    • Ballpoint pen
    • Aluminum craft metal foil roll (36-gauge)
    • Embossing tools (get creative: a ball stylus, a wooden clay tool, even an orange stick from your nail kit works!)
    • Ribbon (about ⅛-inch wide, cut into 5-inch strips—one per ornament)

    Safety note: aluminum edges can be sharp. Pop on a pair of gloves while you’re working to save your hands and keep things clean.

    Step 1: Prep your template

    Print out your seashell and starfish templates. Rough cut around each shape, leaving about a half-inch border of plain paper.

    Step 2: Cut your craft metal

    Snip a piece of aluminum foil from the roll that’s the same size as your craft foam sheet. Place it on top of the foam—this creates your “cushion” for embossing.

    Step 3: Tape & trace

    Tape the paper templates onto your craft metal. With your trusty ballpoint pen, trace the outlines of the shapes. Don’t press too hard—you want lines, not holes. (Flip it over as you go to check your progress.)

    Step 4: Add the fun details

    Now comes the satisfying part: embossing! Use whichever tool feels good in your hand and press in lines, dots, and textures to bring your seashells and starfish to life. Pro tip: flip the metal over to press designs in the opposite direction for extra depth.

    Step 5: Make a hole for hanging

    Each template has a little circle at the top—trace it, then press through with your pen tip to create a hanging hole. Wiggle the pen gently to widen it just enough for your ribbon.

    Step 6: Cut them out

    Carefully cut around each ornament shape. (Reminder: those edges can be sharp, so take your time and protect your hands!)

    Step 7: Ribbon & hang

    Thread your 5-inch ribbon through the hole, tie a knot, and ta-da—you’ve got a shiny, ocean-inspired ornament ready to sparkle on your tree.


    And there you have it—your very own set of handmade, nature-inspired ornaments. I love how they shimmer in the light and bring a touch of seaside magic indoors. The best part? They look just as good hanging with flower garlands and bird ornaments in spring as they do alongside twinkle lights in December.
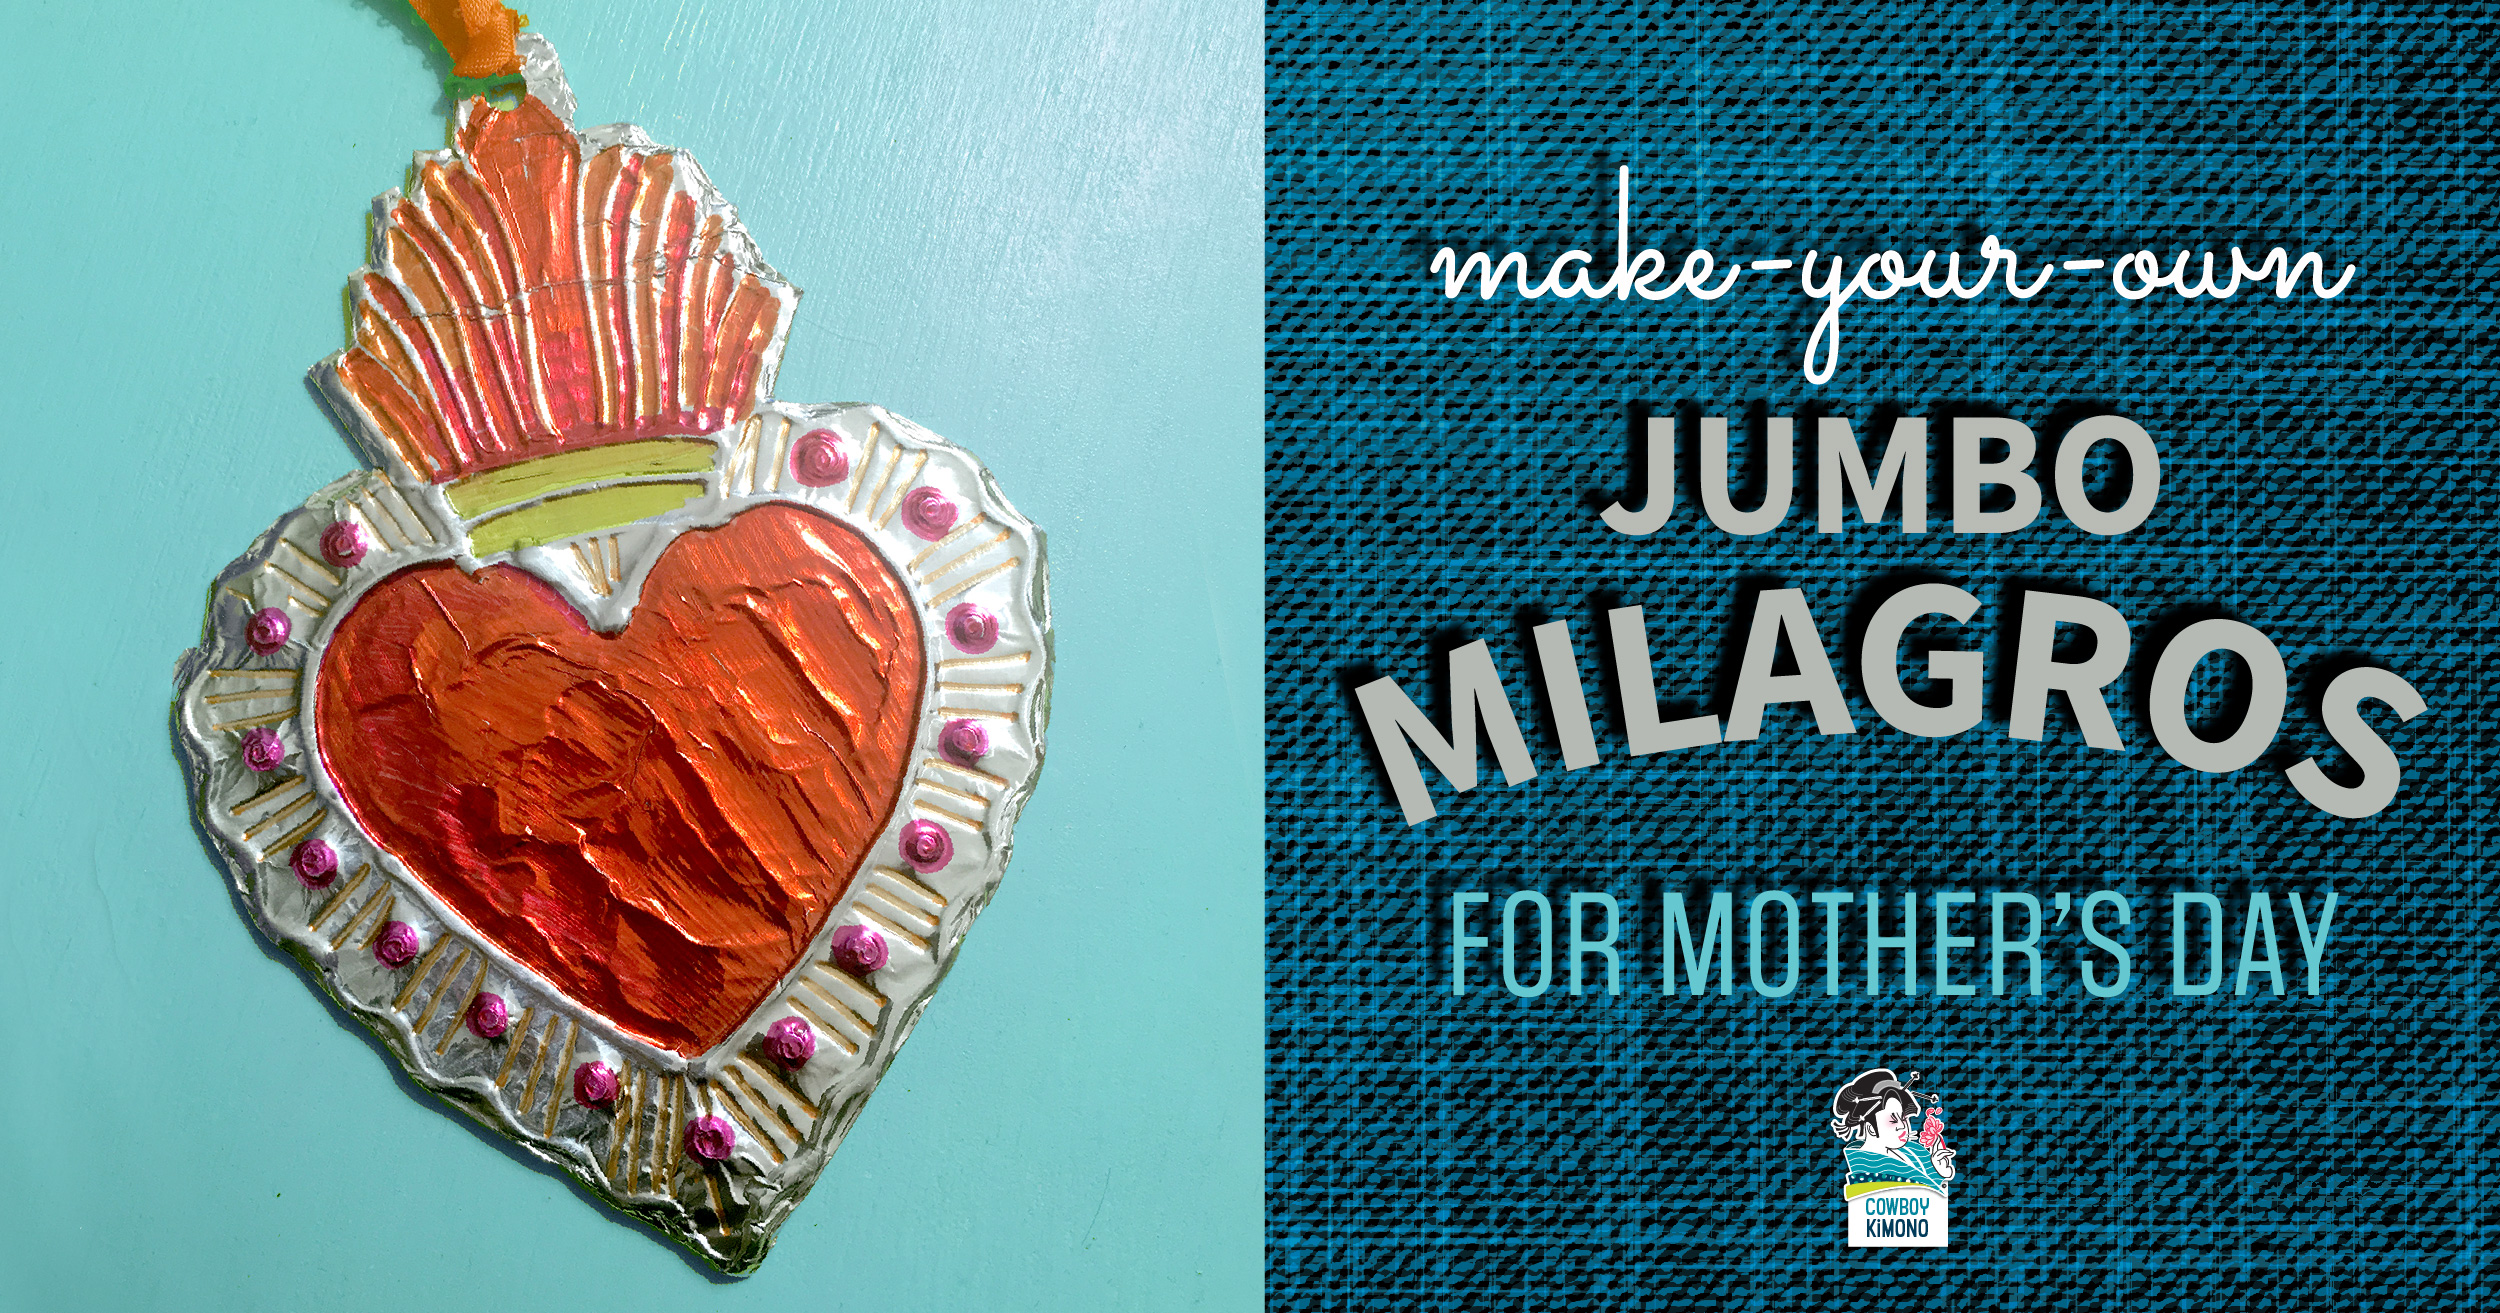
  • Denim Day

    Denim Day

    Wear denim April 28, 2021 and help raise awareness of rape and sexual assault. #DenimDay. The history behind Denim Day-

  • Irresistible Paper Ox Book Corner

    Irresistible Paper Ox Book Corner

    An irresistible paper craft originally created to celebrate the Year of the Ox, 2021. Simple instructions follow – but first a brief history of the Lunar New Year from Pinterest:

    Celebration of Luck, Health, and Togetherness

    Marking the first new moon of calendars traditional to many East Asian countries, Lunar New Year is a multi-day celebration of luck, health and togetherness celebrated by billions of people around the world. February 12 marks this year’s festivities, beckoning in the Year of the Ox according to the Chinese zodiac. And while this year’s celebrations may be at home this year, the rich traditions of this holiday aren’t going anywhere.

    How Lunar New Year Came To Be

    The legends behind the Lunar New Year date back thousands of years. The tale goes that at the beginning of each new year, there was a monster that attacked a village. The monster was afraid of loud noise, bright lights and the color red, so the villagers banded together to scare it off by hosting loud celebrations and wearing red. Each year is represented by a different animal, the 12 signs of the Chinese zodiac, with this year represented by the ox, which symbolizes patience and cheerfulness. The Chinese zodiac has been adopted by many countries throughout Asia. Lunar New Year is celebrated in a variety of ways across different Asian cultures. For example, in China, the celebration is often called the Spring Festival, in Tibet it’s known as Losar, and in Vietnam, it’s called Tết. It’s widely celebrated amongst the Asian diaspora all over the world, making it a truly global holiday.https://www.pinterest.com/today/article/how-to-celebrate-lunar-new-year-2021/64041/


    Supplies

    • Printed and cut-out origami square 
    • Printed and cut-out ox features
    • Printed and cut-out tassel strips
    • 2 – 3 inch pieces of yarn or thin ribbon
    • 2 – 2 inch pieces of yarn or thin ribbon
    • Glue
    • Glue stick
    • Scissors

    Directions

    1. Print template’s front square, flip paper and print back on same page.
    2. Cut out red square from the printed page.
    3. Fold origami bookmark using photo guide or YouTube video link
    4. Cut out nose, ears, head flower, nose ring, horns and tassel strips.
    5. Clip tassel strips as shown in photo (below).
    6. Glue nose beneath eyes, making sure not to glue the pocket opening. Glue the nose ring to the nostrils.
    7. Gently pinch each ear on the tip and glue to the back side of the head.
    8. Glue the horns slightly above the ears.
    9. Glue the head flower over the printed flower.
    10. Make the tassels by putting a dot of glue on the left and right, unclipped edge of each strip. Place the tip of a 3-inch piece of yarn or thin ribbon in the glue with the remaining length going up and away from the unclipped edge. Repeat for the second strip. Tightly roll each strip lengthwise. Pinch for a few seconds to allow the glue to take hold. Put a dot of glue on the top, unclipped part of the tassel and wrap with a 2-inch piece of yarn or thin ribbon. Glue the end and repeat for the second tassel. Tie the tassels together at the top and glue the knot to the back side, center of the head.
    Clip tassel strip up to dotted line
    https://youtu.be/BEwl0fvqo18
     
  • 5 Gifts You Can Create Today for Zero Dollars

    5 Gifts You Can Create Today for Zero Dollars

    Another holiday season – I’m short on time and short on funds. This year’s challenge: create quick gifts that cost absolutely zero dollars (not even the price of a postage stamp). Ready to savor the spirit of giving?

    1. Wrap Your Skills. Web Skills? Build a free blog, construct an engaging Facebook Page, or share a great video backdrop image. Photographer? Stylist? Coordinate a digital photoshoot. Artist? Give a pet sketch.
    2. Choreograph A Tour. Collect addresses of neighbors with spectacular holiday lights and decor and map out a tour. Find addresses by checking out NextDoor App’s Holiday Cheer Map or Facebook Groups. Prepare a GPS route or try Christmasprism (an app developed by a Dad to find the best decorated holiday homes).
    3. Rustle Up A Field Trip. Work at an exciting place? A zoo, historical building, baseball stadium? Offer a look-see!
    4. Give Sentimental. Record a family recipe how-to on video. Collect stories about your family’s holiday traditions, pranks and/or hacks, and share in an email.
    5. Nurture Talent. Hook-up a budding writer by uploading their book to Kindle Direct Publishing. Encourage an artist or entrepreneur by writing a positive review, following them on social media, giving a shout-out online, and engaging with their posts (@coachjojo). 
  • Hello, Christmas Star (How Long has it Been?)

    Hello, Christmas Star (How Long has it Been?)

    You can catch a rare celestial event the evening of December 21, 2020 when the two largest planets in our solar system – Jupiter and Saturn – nearly overlap to form a “double planet.” This cosmic conjunction will occur on Winter Solstice marking the shortest day and longest night of the year. How rare is this occurrence? The last time a close conjunction of Jupiter and Saturn occurred was about 800 years ago and isn’t expected to happen again until 2080!

    Christmas Star: DIY Souvenir

    Great Conjunction:How to photograph it with your phone

    USA Today Story on the Great Conjunction

  • Create Scary Silhouettes

    Create Scary Silhouettes

    Want to warn would be trick-or-treaters with scary silhouettes? Create this big foreboding sign on a window or glass door with ease using large, inexpensive black and white prints. Glass with lights, light-colored shades, or a light-colored door behind them provide the best contrast for these dark silhouettes. In just a few hours. I’m able to upload files online, have 18″x 24″ black and white blueprints made, and pick them up at my local Staples. Click the button below for details and pricing on Staples Blueprints.

    Paint Marker Method

    Start by printing the ghoul, cat, spider, and/or phrase to fit in a window or storm door. Click for 18″ x 24″ templates. I printed them to fit on a storm door, arranged the prints behind the glass and drew on the front of the glass with black Uni-Posca markers (extra broad, broad and medium). I have used these paint markers on glass before and was confident that I could clean the paint off without damaging the storm door. Make sure to test a small area of your surface with the paint markers before drawing/painting silhouettes. If you cannot easily clean off the dried paint marker, try the cut paper method.

    Silhouettes painted on a glass screen door

    Cut Paper Method

    Start by printing the ghoul, cat, spider, and/or phrase to fit in a window or storm door. Trim the characters and letters, removing the white paper sections. Place the prints behind the glass window or door and tape with scotch tape or double stick tape.

  • Yum. Father’s Day Craft

    Yum. Father’s Day Craft

    Give Dad the gift of sleeping in on Father’s Day by whipping up a batch of apple muffins the night before (feel free to bang the pots and pans until bedtime). Once the white of his eyes are visible, dash in with a pyramid of apple muffins topped with this funny, yet loving, sentiment. Crumbs between the sheets may be the only downside to this breakfast in bed.

    Is Dad a coffee lover? Pair these muffins with an adventurous brew: https://www.brit.co/treat-your-dad-fathers-day-coffee/

  • Patriotic Scavenger Hunt

    Patriotic Scavenger Hunt

    Social distancing keeping you close to home this Memorial Day? Taking daily walks to to stay fit (and sane)? Celebrate Memorial Day during Covid-19 with a game that combines walking with a scavenger hunt. Locate patriotic symbols in your neighborhood and, at the same time, honor the men and women who died while serving in the U.S. military. Simply view the checklist below on your phone and play! Play it solo or as a competition between friends, family members, or neighbors.

    Did you know? Each year on Memorial Day a national moment of remembrance takes place at 3:00 p.m. local time.

  • Jumbo Milagros for Mother’s Day

    Jumbo Milagros for Mother’s Day

    Celebrate Mom on her day by crafting, loud and proud Milagro charms that screams to the world, “This is MY Mom and I LOVE HER! ” This simple craft can be made by small or big hands. Milagros strung on ribbon magically transform into a stunning necklace that any Mom would wear with pride.

    What are Milagros?

    Alternatives Global Market Place: “Milagros, meaning “miracle” in Spanish, are religious folk charms found in many areas of Latin America and Southern United States. They are used by people to petition for help or protection. These small metal charms are attached to altars, shrines or sacred objects. Milagro Charms can also be carried for protection and good luck. They are made in a variety of shapes, representing body parts, animals and many other objects. They are used to assist in focusing attention towards a specific ailment or need, based on the type of charm used. A milagro’s symbolism is not uniform and can take on individual meanings. ” Milagro Symbolism

    Supplies

    • Milagro Templates
    • Glue Stick
    • Tag Board or Cardboard (tag board is used to package cereal, crackers, frozen pizza etc..)
    • School Glue, Hot Glue, or 3D Fabric Paint
    • Aluminum Foil
    • Sharpies in a Variety of Colors
    • 1/8-inch wide (or close) Ribbon, cut into 6-inch segments for each Milagro
    • 1/2-inch wide (or close) Ribbon, cut into 20-inch length for necklace
    • Hole Punch
    • Scissors
    • Scotch Tape

    Directions

    1. Print Milagro templates.
    2. Cut out each Milagro 1/2-inch away from outer edges. Put written descriptions aside to put on the back of milagros later.
    3. Coat the back of each Milagro template with glue stick.
    4. Adhere Milagro templates to cardboard/tag board and smooth out with your hand.
    5. Using school glue, hot glue or 3D fabric paint, draw over all the lines to create a raised areas. Allow plenty of time to dry and harden.
    6. Cut out cardboard/tag board shapes close to the edges.
    7. Lay Milagro shapes face down on foil. *Note: if you want the shiny side of the foil to show, put the shape face down on the dull side.
    8. Cut the foil 1/4-inch away from the edge of the shape.
    9. Wrap the foil around the edges of the shape and press onto the back. Clip into corners or along curves as needed to make the foil follow the edges.
    10. Tape edges on the back side
    11. Rub the foil side with your finger to make the raised areas stand out.
    12. Color with Sharpies and allow to dry.
    13. Adhere the written description of the Milagro to the non-foil side.
    14. Punch a hole inside each semi-circle “loop” with a hole punch.
    15. Thread the thinner ribbon through this “loop” and tie a knot on the end. Repeat for each Milagro.
    16. String the Milagros onto the longer length of ribbon for a colorful, blingy, charm necklace.
  • Grocery Bag Bird Ornaments

    Grocery Bag Bird Ornaments

    A Two-for-One Craft: Celebrate Earth Day by painting paper pollinators and honor the earth by upcycling waste found around the house. This simple craft can be made and ready to hang before Mother Earth finishes her rotation.

    Supplies

    • Paper Grocery Bags
    • Crayons, Paint, Markers or Paint Pens
    • Stapler
    • Shredder Paper
    • Scissors
    • Rubber Bands, String, Yarn or Ribbon
    • Bird Template

    Directions

    1. Download and print bird templates
    2. Cut grocery bags down the center side folds.
    3. Turn bags inside-out so non-printed sides are showing.
    4. Layer a template on top of the bag. Bag should be folded so there are two layers.
    5. Hold the bird template in place (or lightly tape) and cut leaving a 1/2 inch margin around the outer edge of the bird. Repeat for each ornament. Keep bird shapes that were cut together, paired together.
    6. Decorate one side of each pair with crayons, paint, markers, or paint pens.
    7. Lay the decorated piece on top of the undecorated piece and staple half way around the edge of the bird. (It will look like metal stitches) Do not staple all the way around.
    8. Stuff the bird with paper from your shredder. Tuck away any wayward pieces.
    9. Place a rubber band, knotted piece of string/yarn/ribbon near the neck on the interior. Let the loop side hang out of the bird to use as a hanger. Staple in place.
    10. Finish stapling the edge of the bird.
    11. Take a photo and Tweet your handiwork!